
How to create your first trust badges
Overview
Trust badges are small icons with short text, for example "Free Shipping", "Easy Returns" or the payment methods you accept. They show near the buy button and help shoppers trust your store. This guide walks you through creating and publishing your first set of badges: you pick a template, then set three steps, Placement, Content and Design.
Before you start
- Turn on the app embed. See How to enable the app embed.
Steps
1. Start new trust badges
- Open XB: Trust Badges from Apps in your Shopify admin.
- Click Create trust badges on the dashboard or on the Trust Badges page.
- On Select Trust Badges Type, click Create an offer on the Trust Badges card.
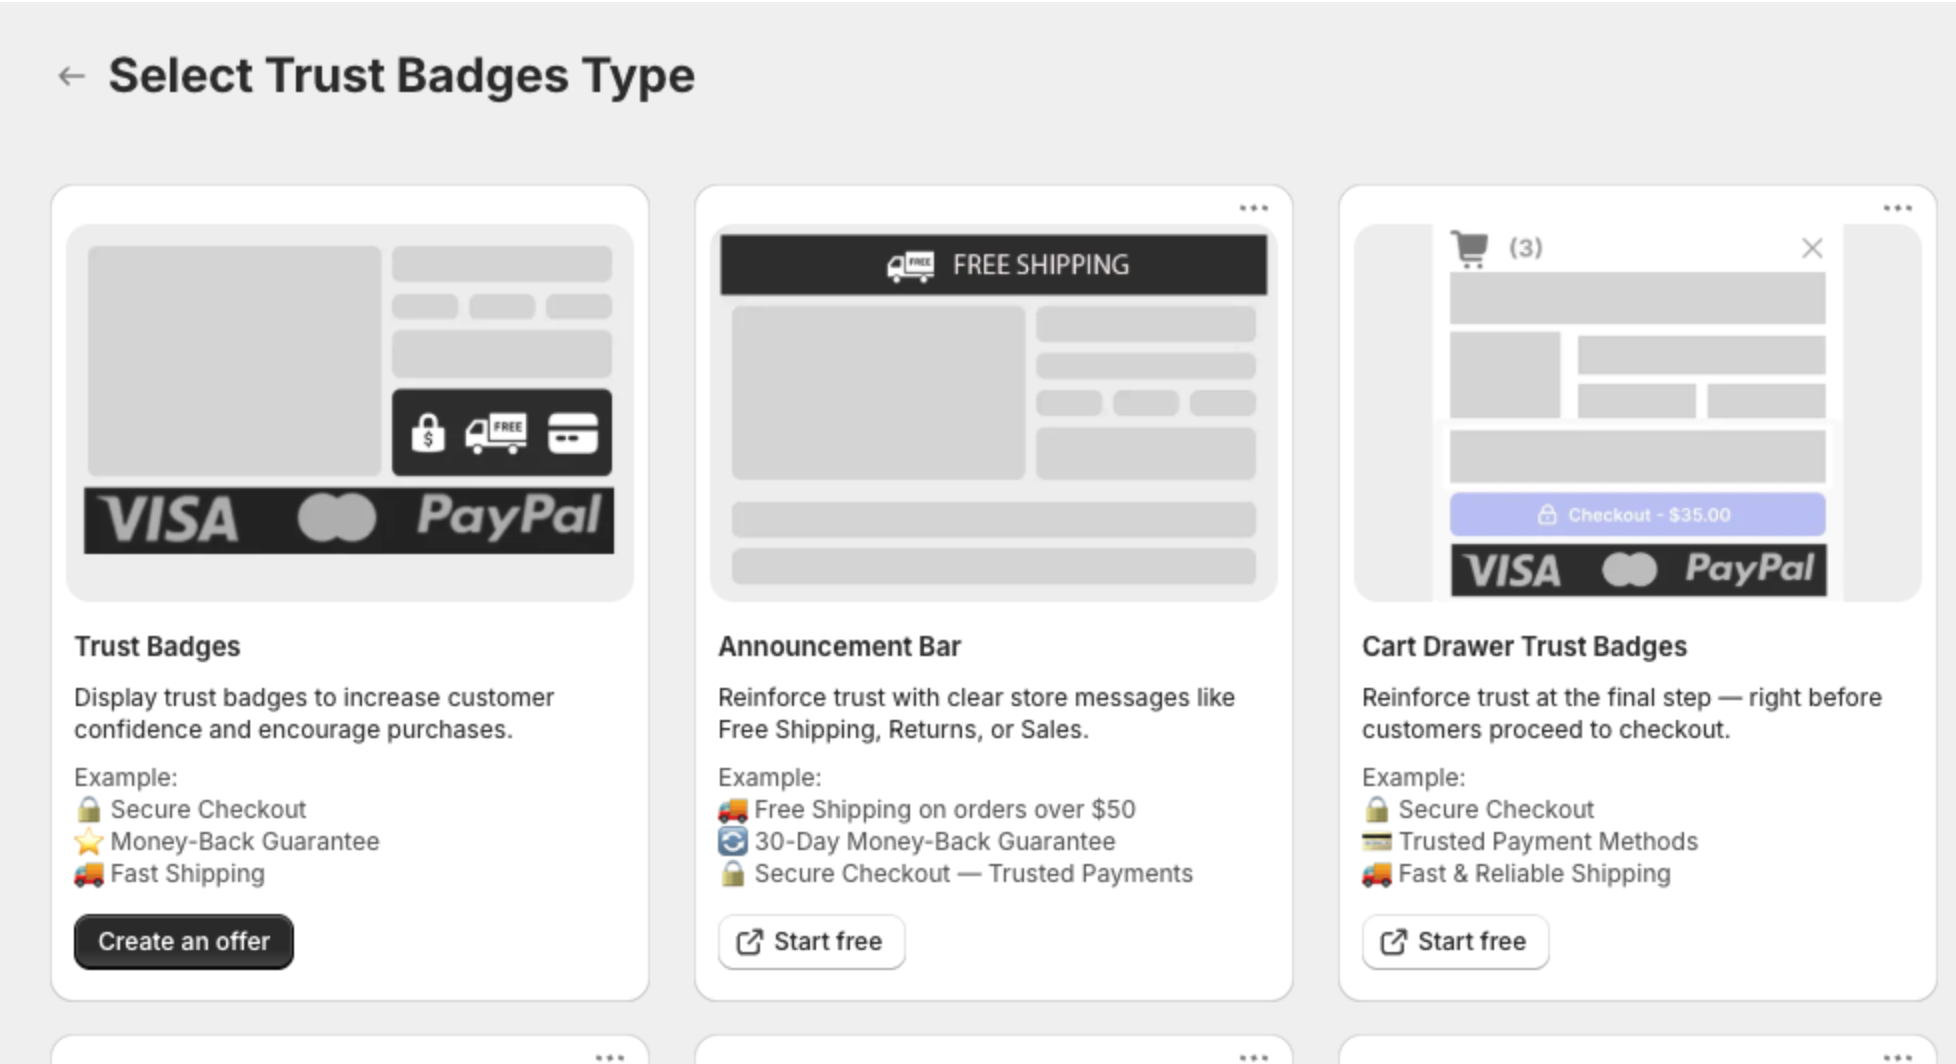
The other cards on this page belong to other XBoost apps. Their Start free buttons open those apps on the Shopify App Store.
2. Pick a template
- Optional: pick a Color theme at the top right. The sun and moon icons switch between light and dark versions.
- Click the template you like: payment icons, icons with a title and subtitle, social icons, a single banner or round badges.
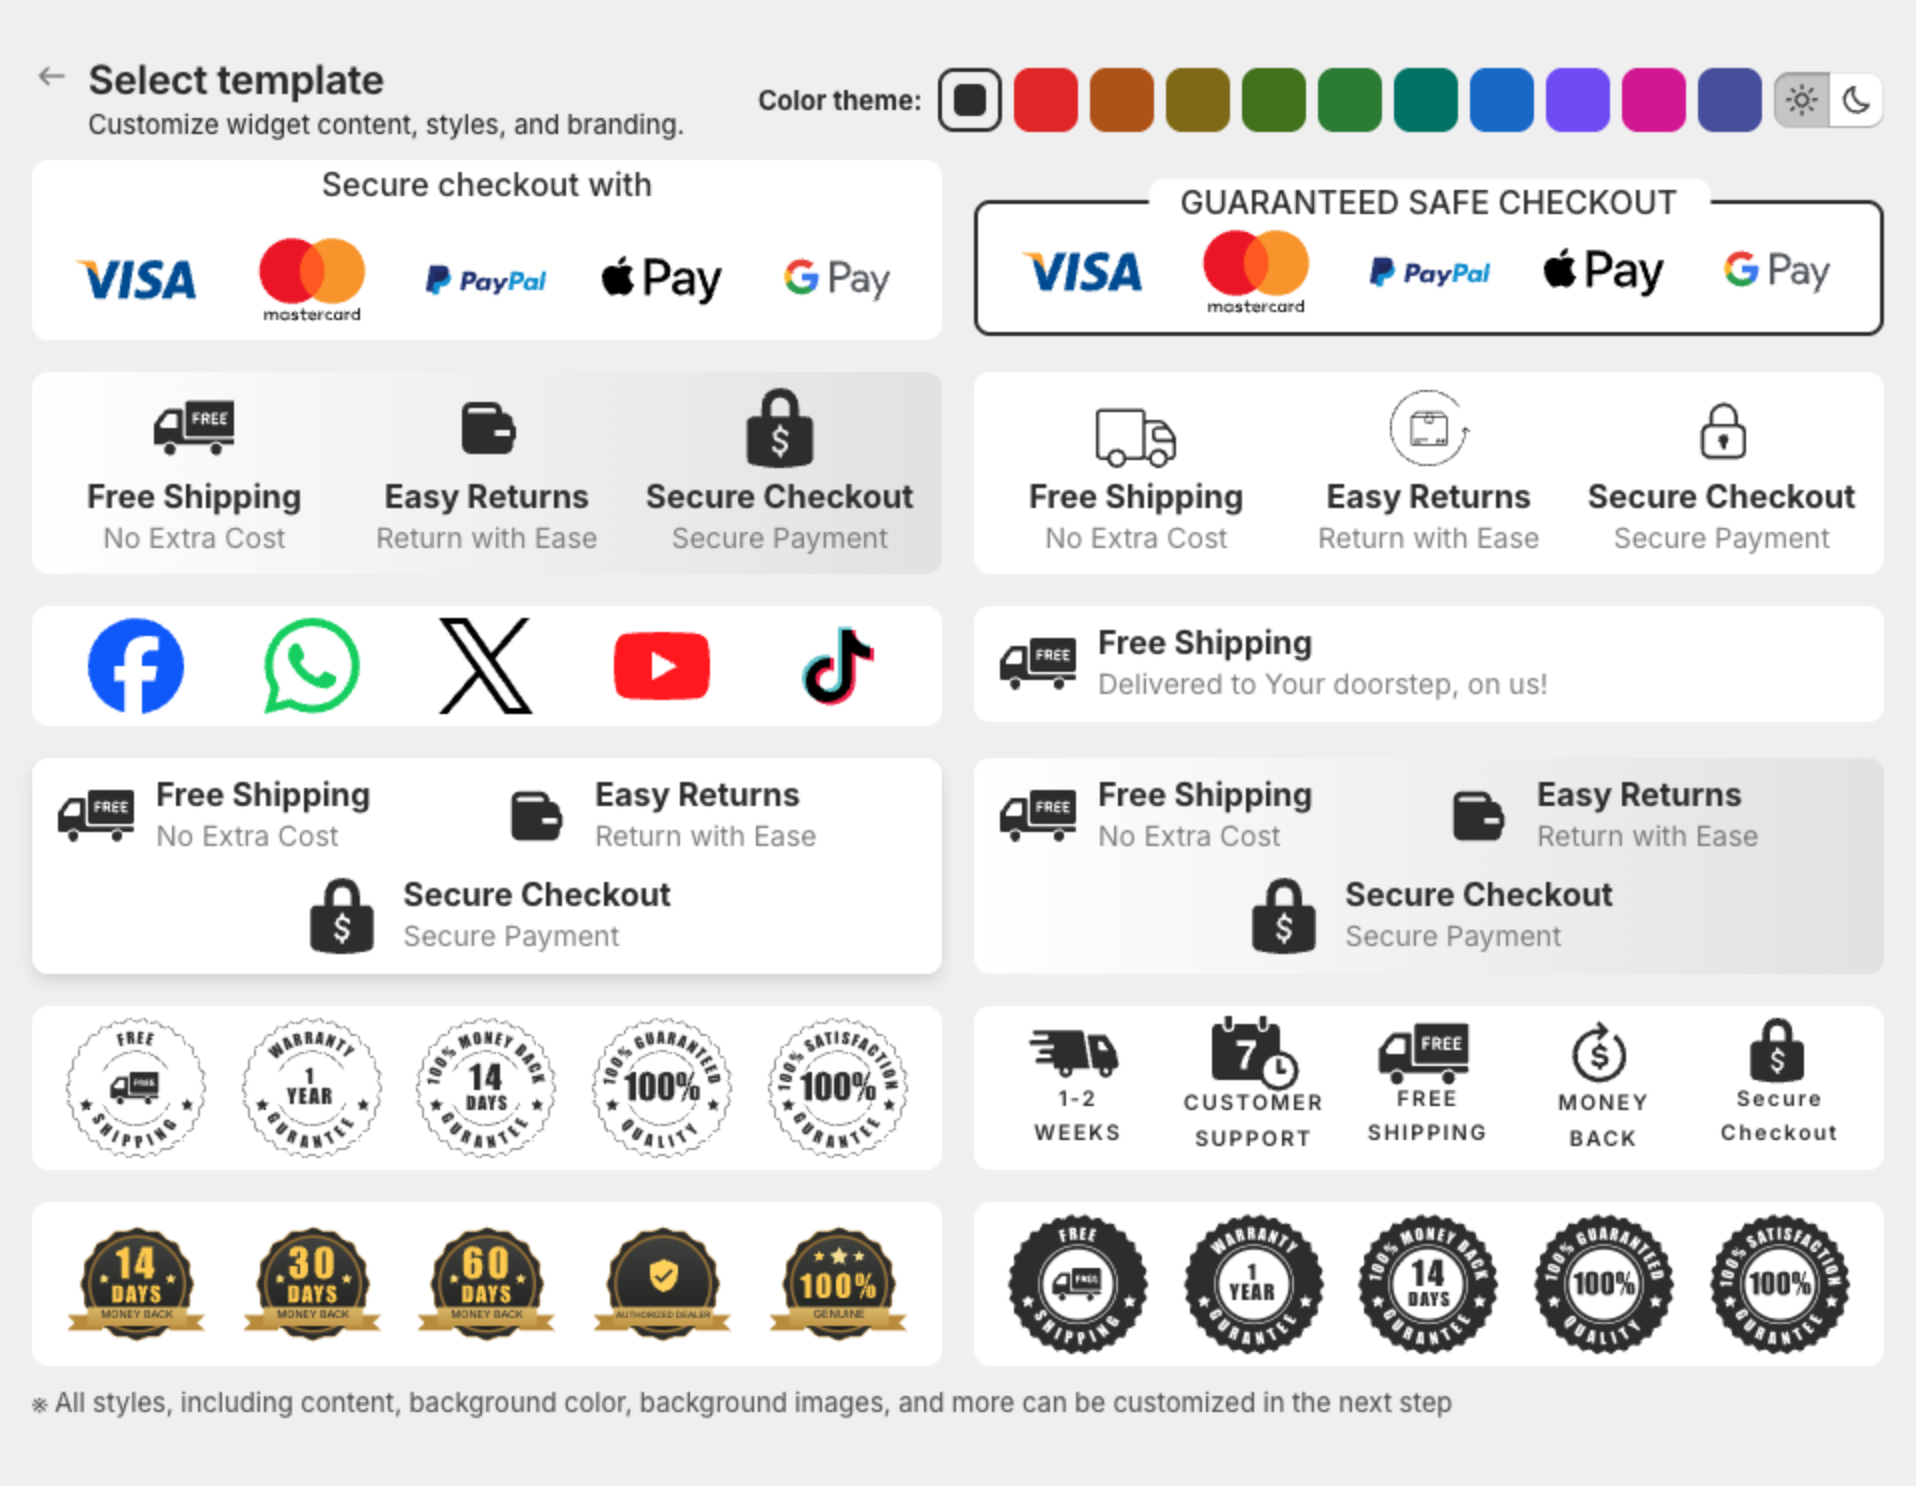
The badges open in the editor as a Draft with a name like "Trust Badges 2".
3. Name the badges
Click Edit offer name and type a name you will recognize, up to 30 characters. Shoppers do not see this name.
4. Choose where the badges show (Placement)
The editor opens on the Placement step. The right side shows a Desktop Preview and a Mobile Preview.
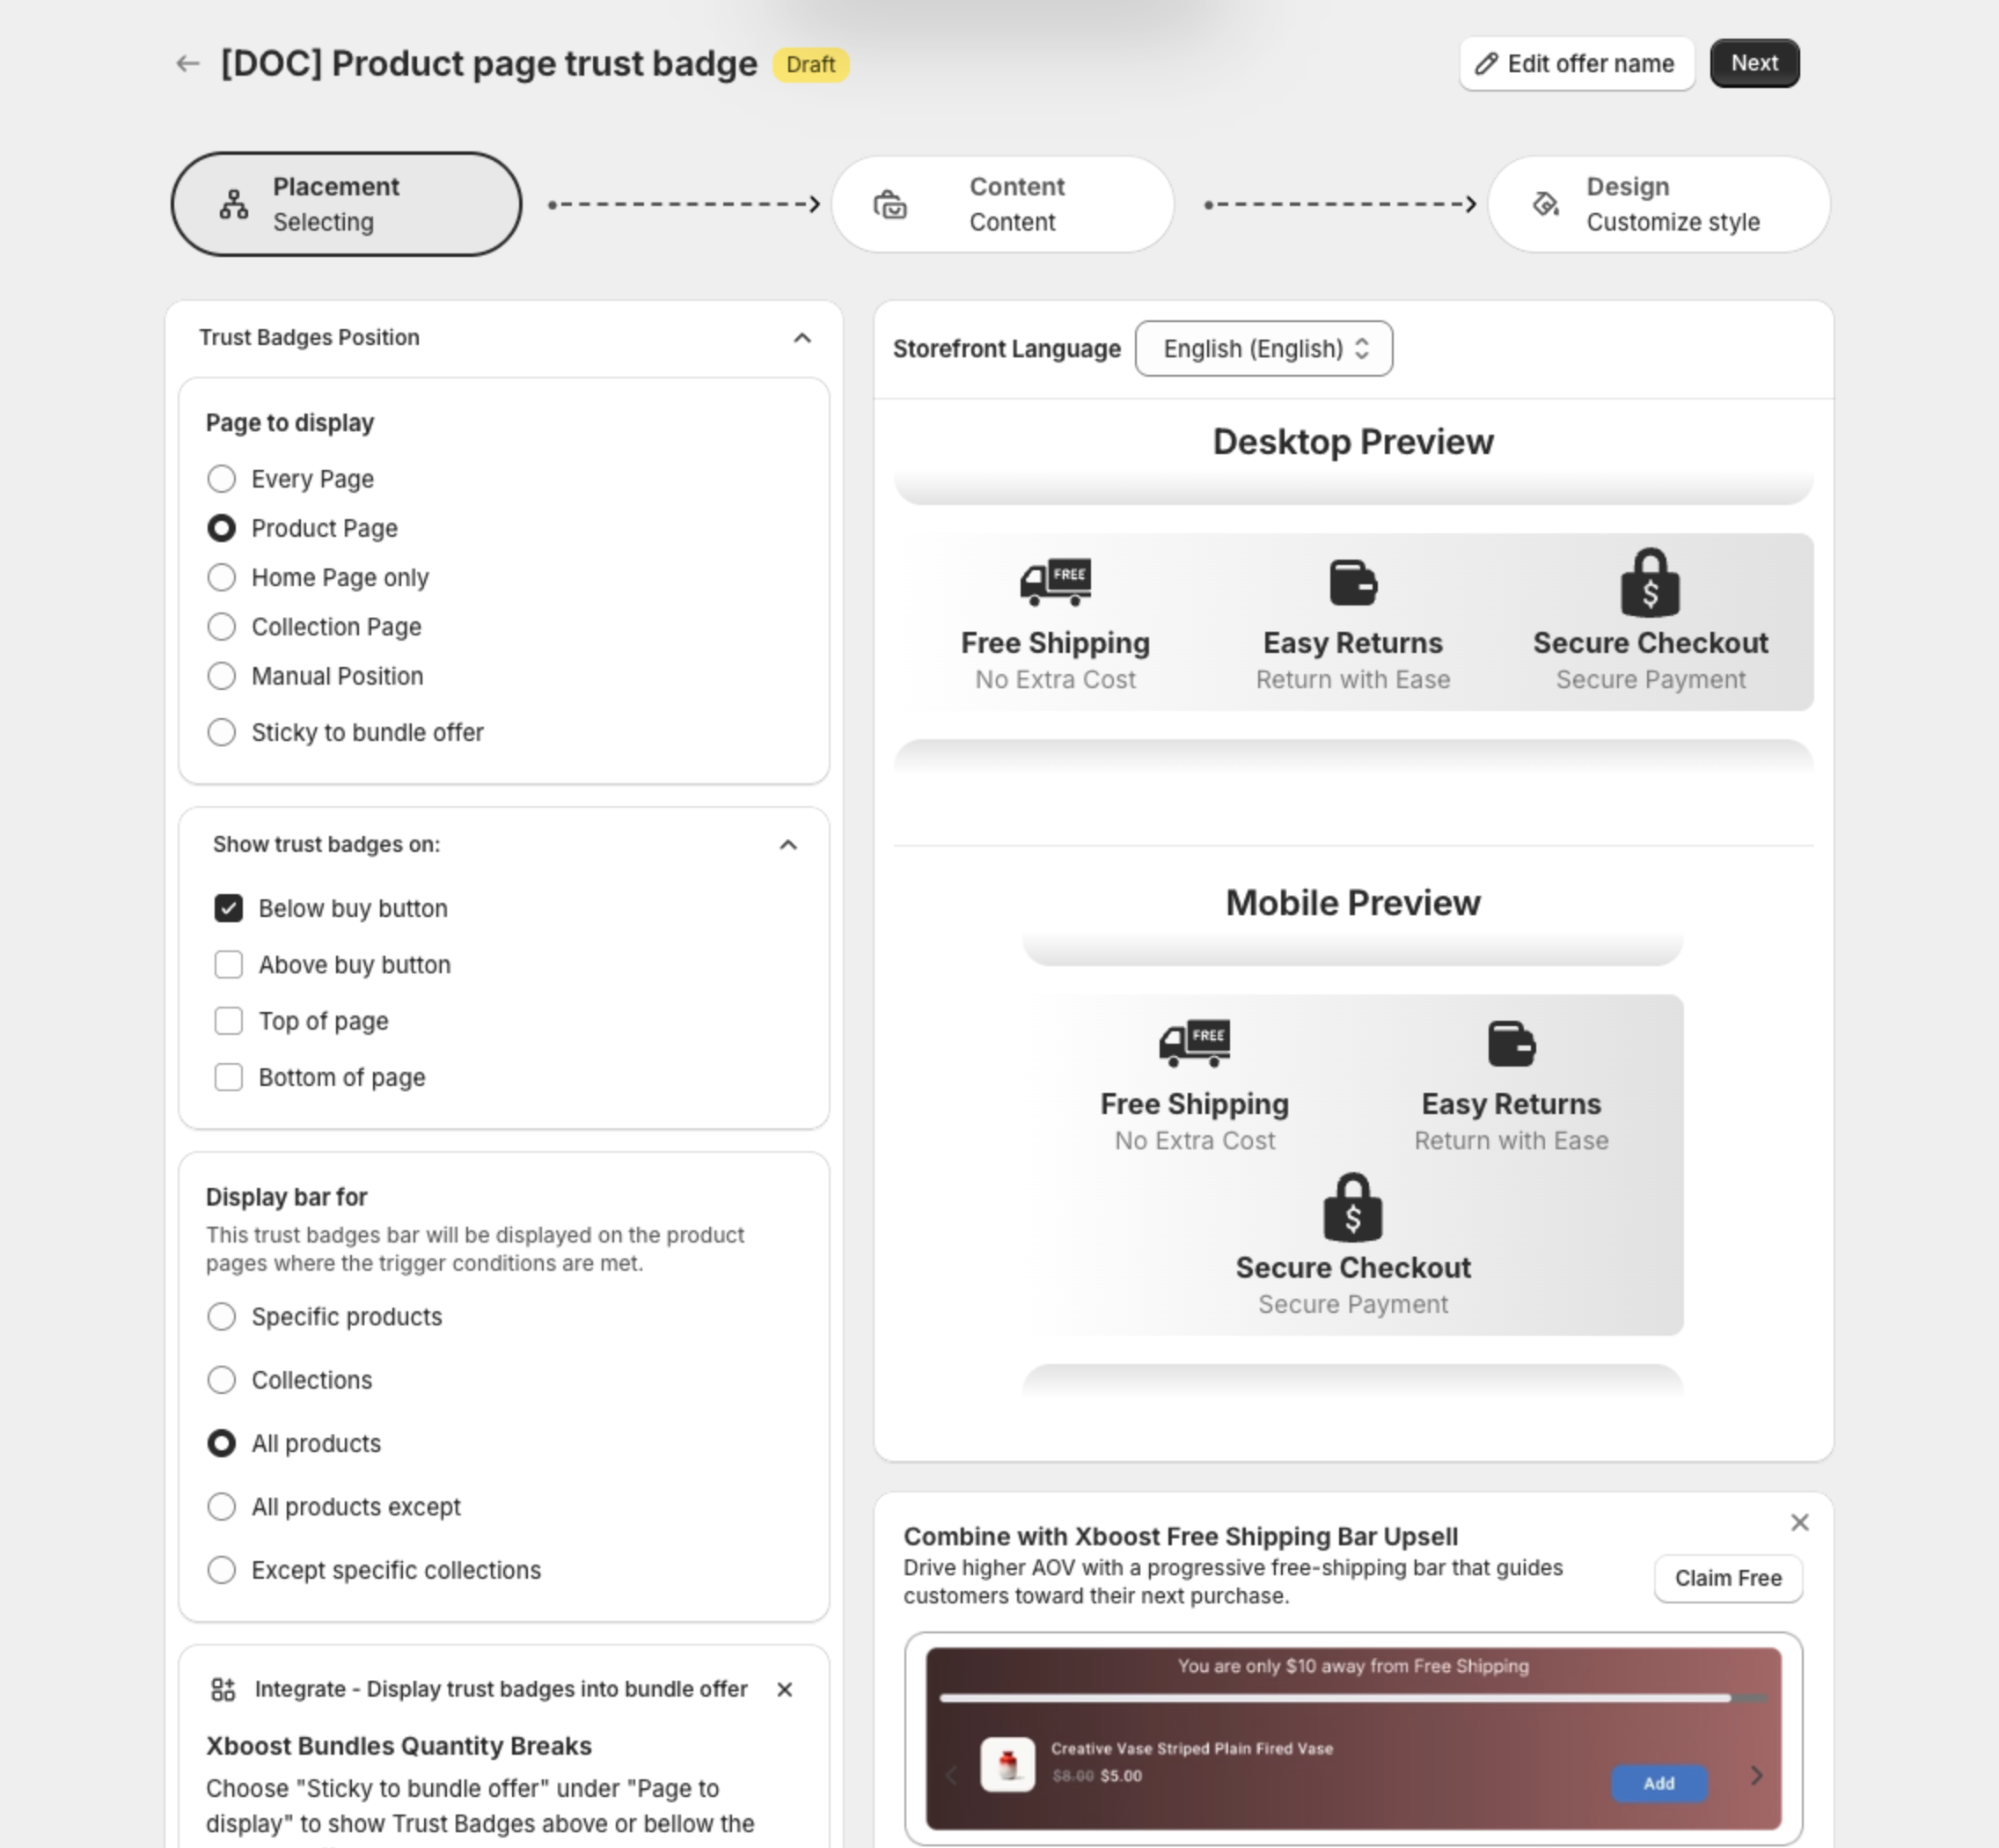
For a first set of badges, keep the defaults: Product Page, Below buy button, All products, All countries, and both Desktop and Mobile. Click Next.
For all options, see How to choose where trust badges show.
5. Set the badges (Content)
- Under Badges type, keep the type of your template or pick another one.
- Under Trust Badges Item, click a badge to change its Icon, Title and Sub title.
- Click Next.
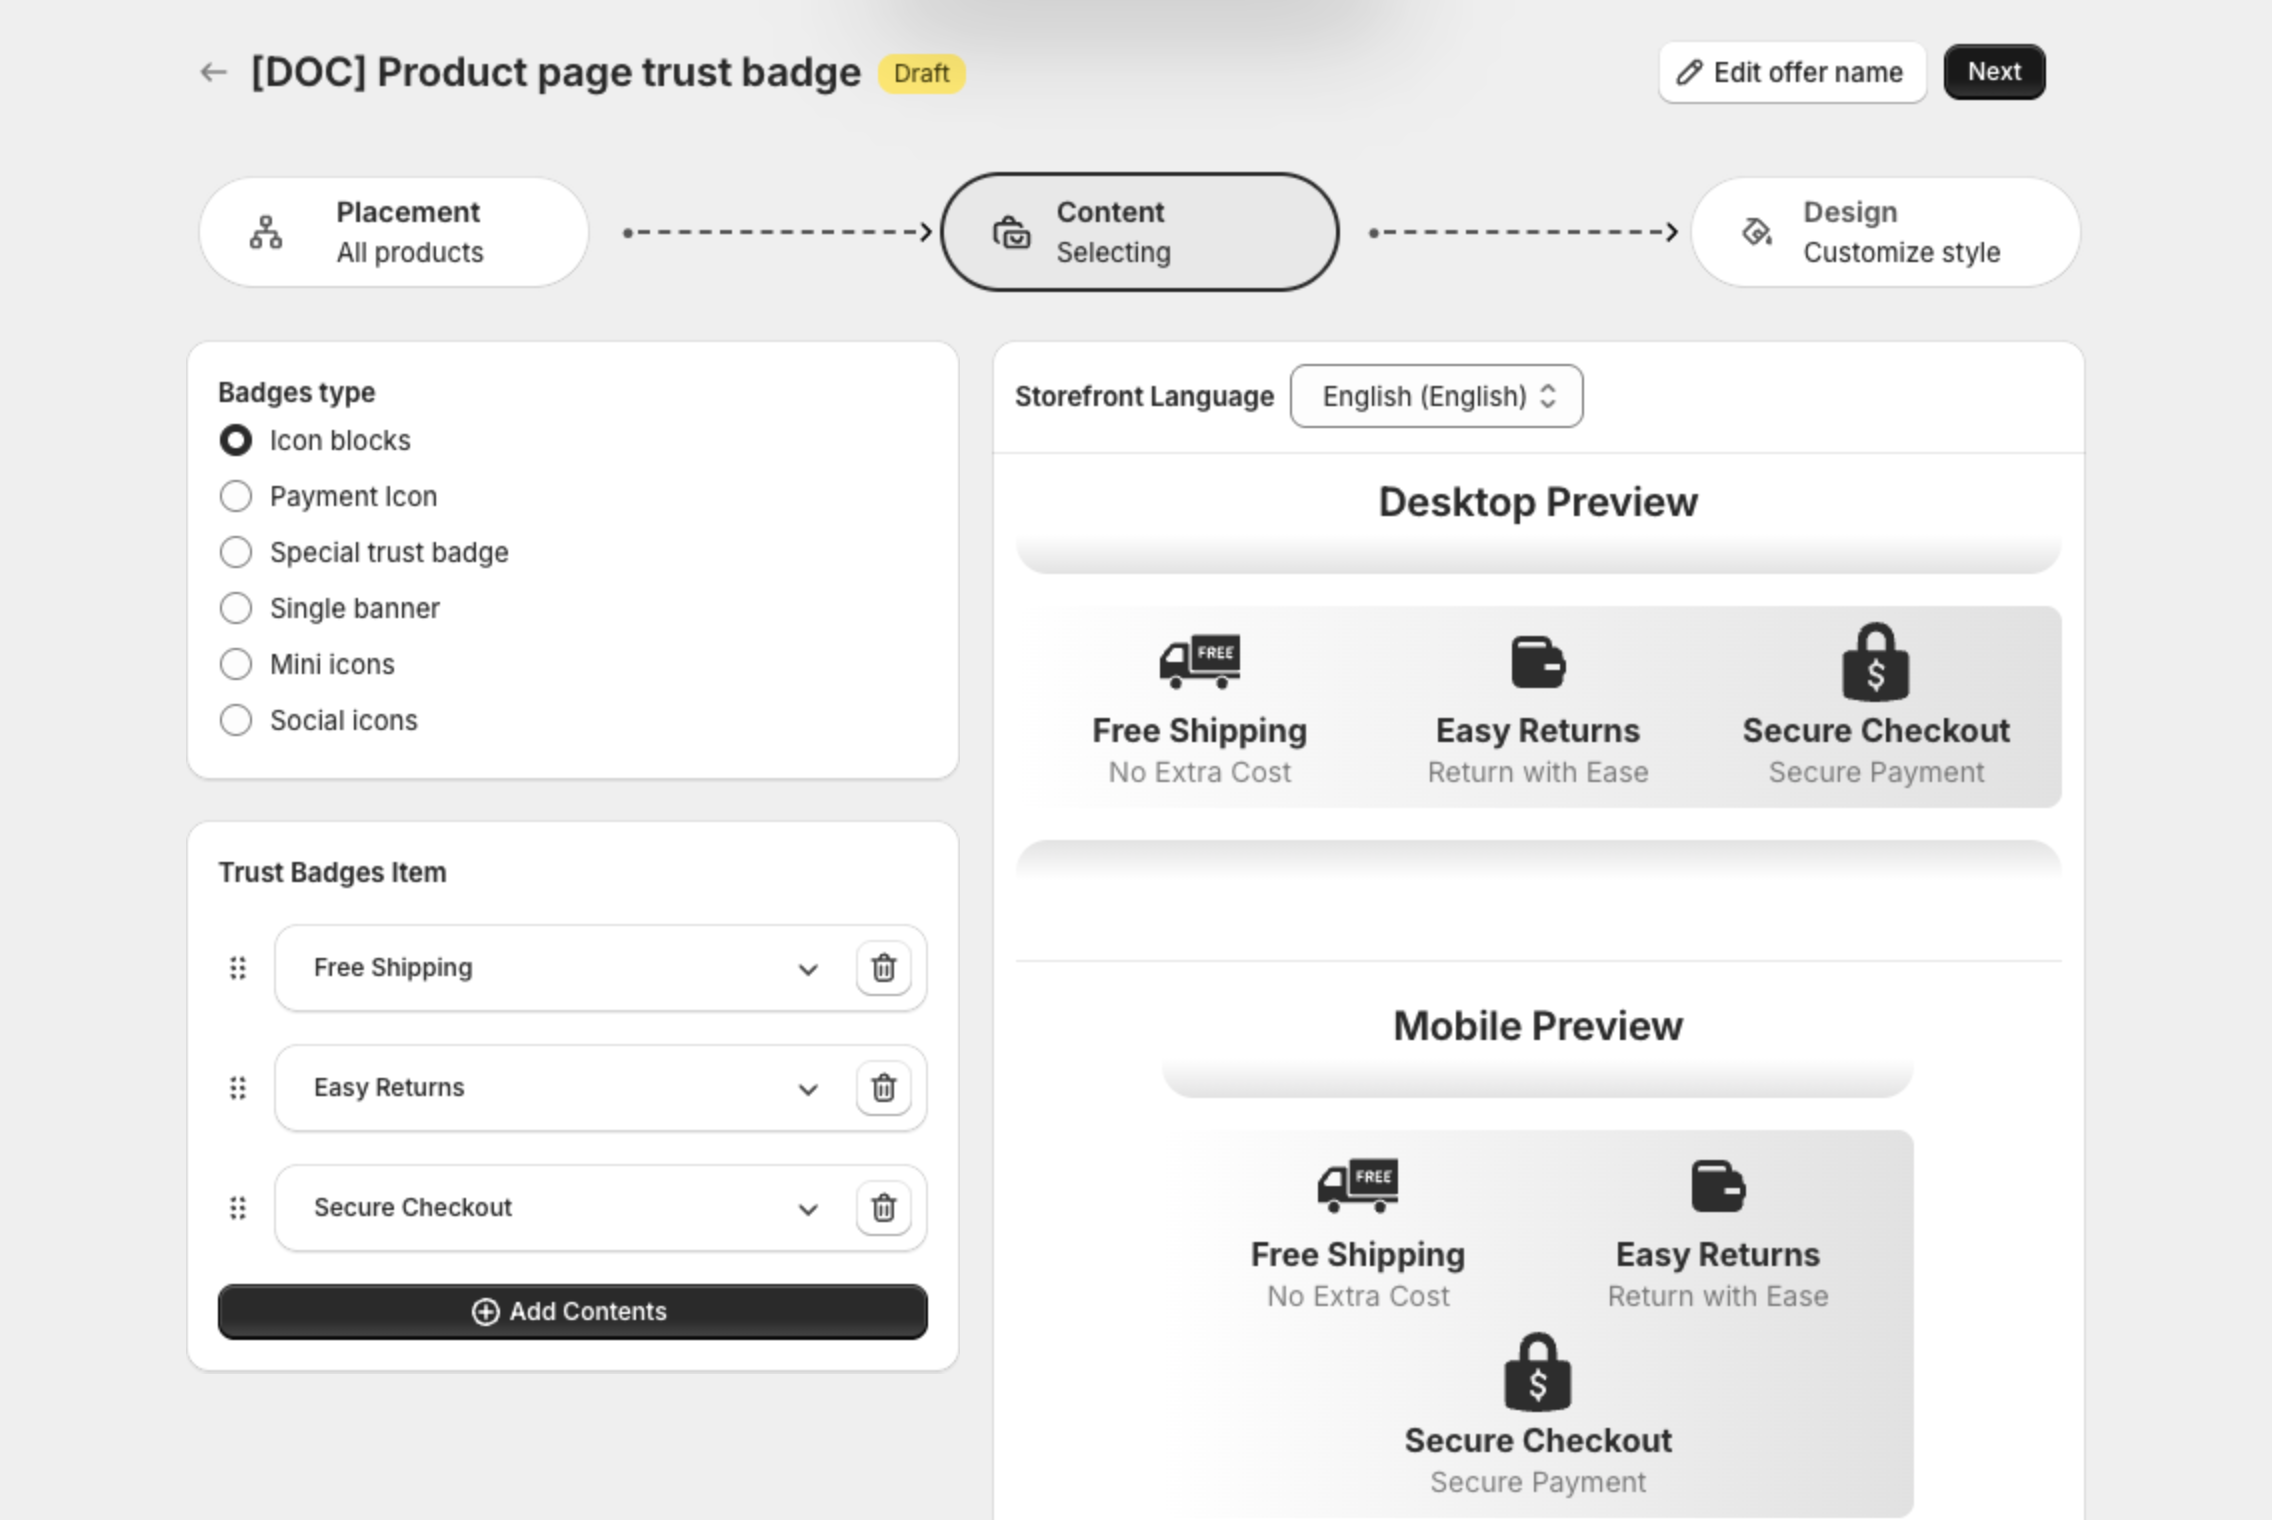
For all options, see How to add and edit badges.
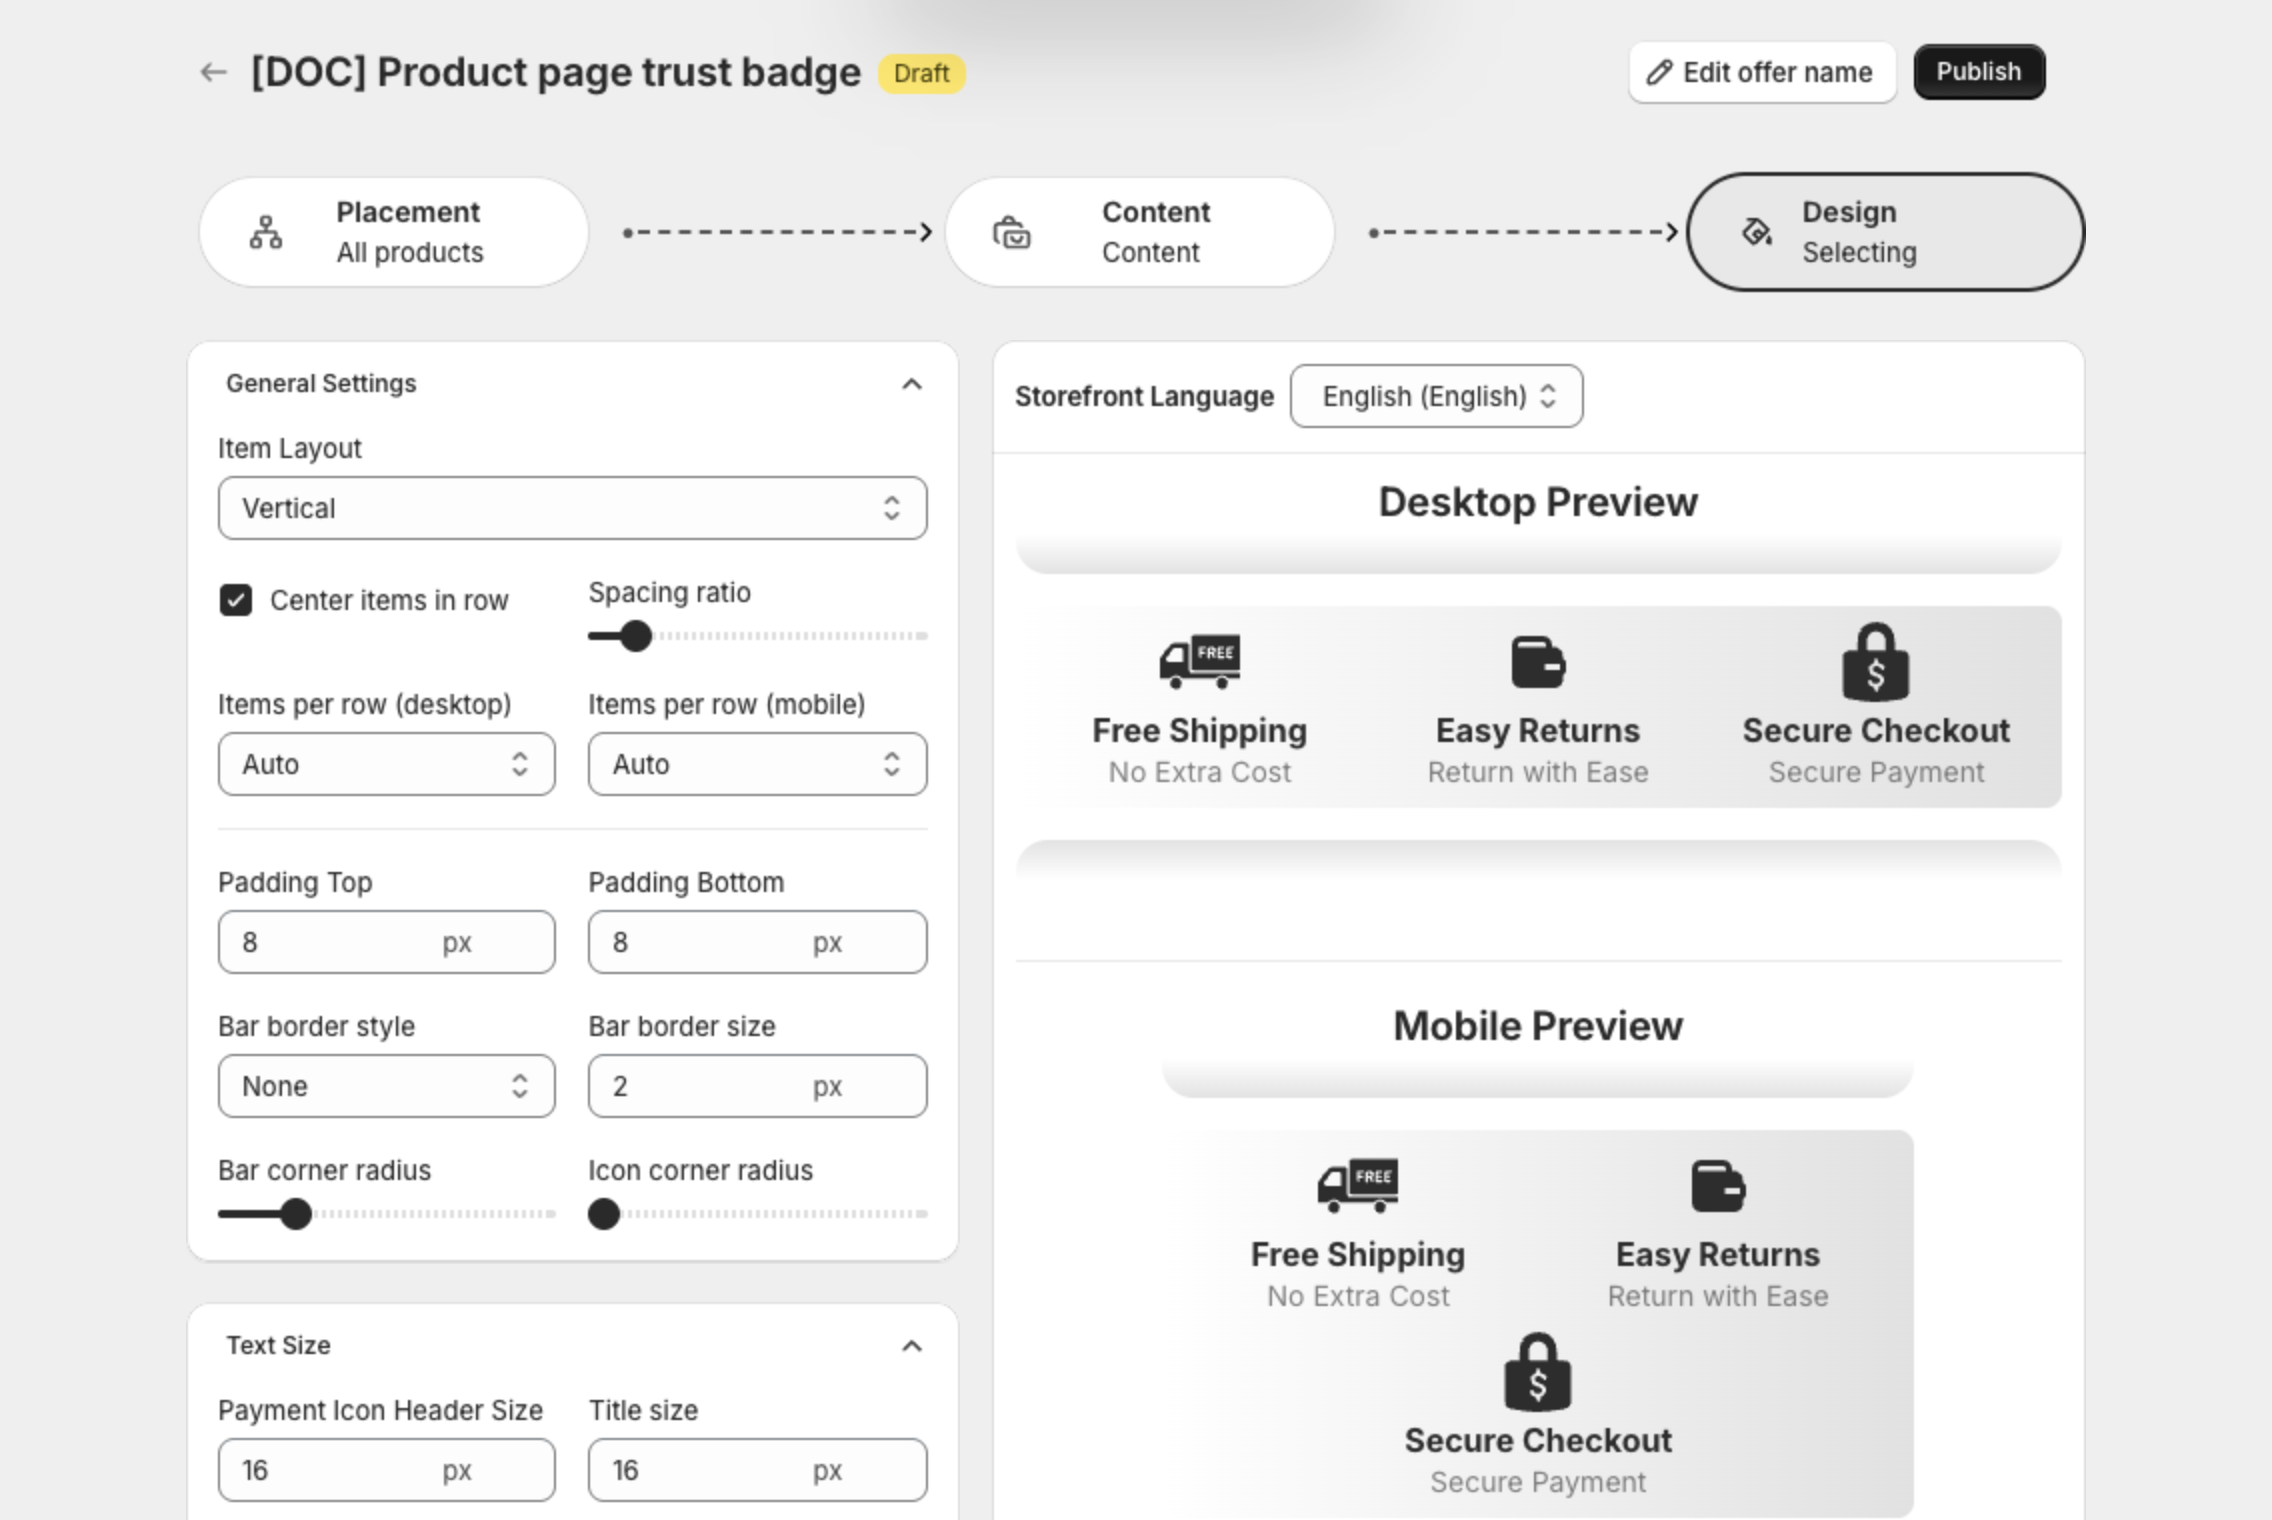
6. Adjust the look (Design)
Change the layout, sizes, background and colors if you want. See How to customize the trust badges design.
7. Publish
Click Publish. The status changes from Draft to Active.
If the app embed is still off, the app warns you: "The offer is only shown if these criteria are fulfilled: Xboost core script is not added to your theme". Turn on the app embed first. See How to enable the app embed.
If you are not ready to publish, click Save in the bar at the top of the page. The badges stay a Draft and do not show on your store.
8. Check your store
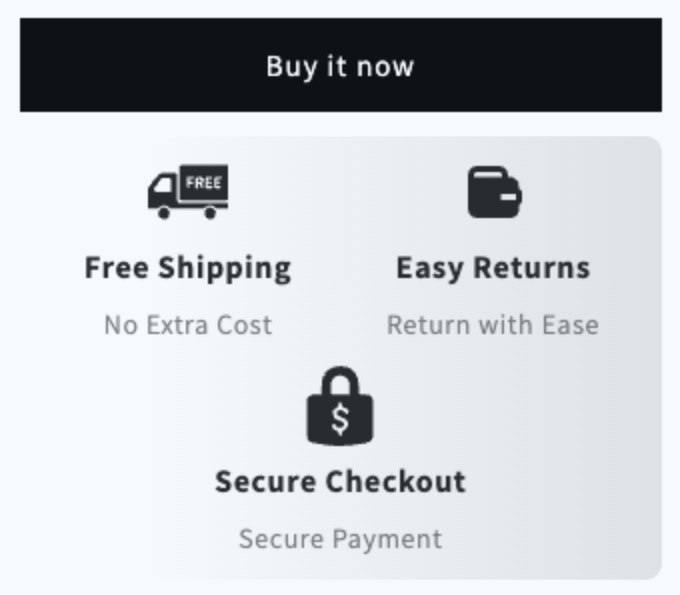
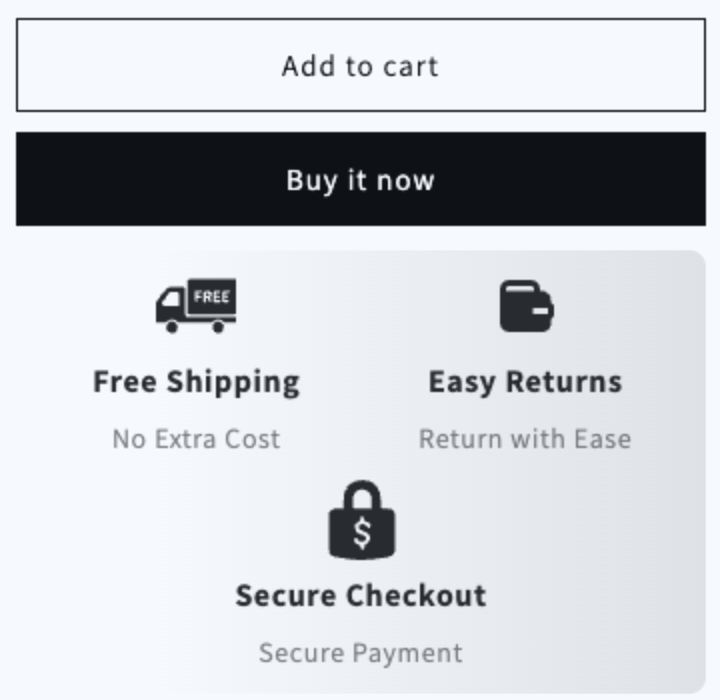
Open a product page on your store. The badges show below the buy buttons.
Troubleshooting
- Save or Publish does nothing. Go back to the Placement step and check the targeting. For example, if Specific products is selected, select at least one product.
- The badges do not show on the store. See Why are my trust badges not showing?