
How to show payment icons and trust badges
Overview
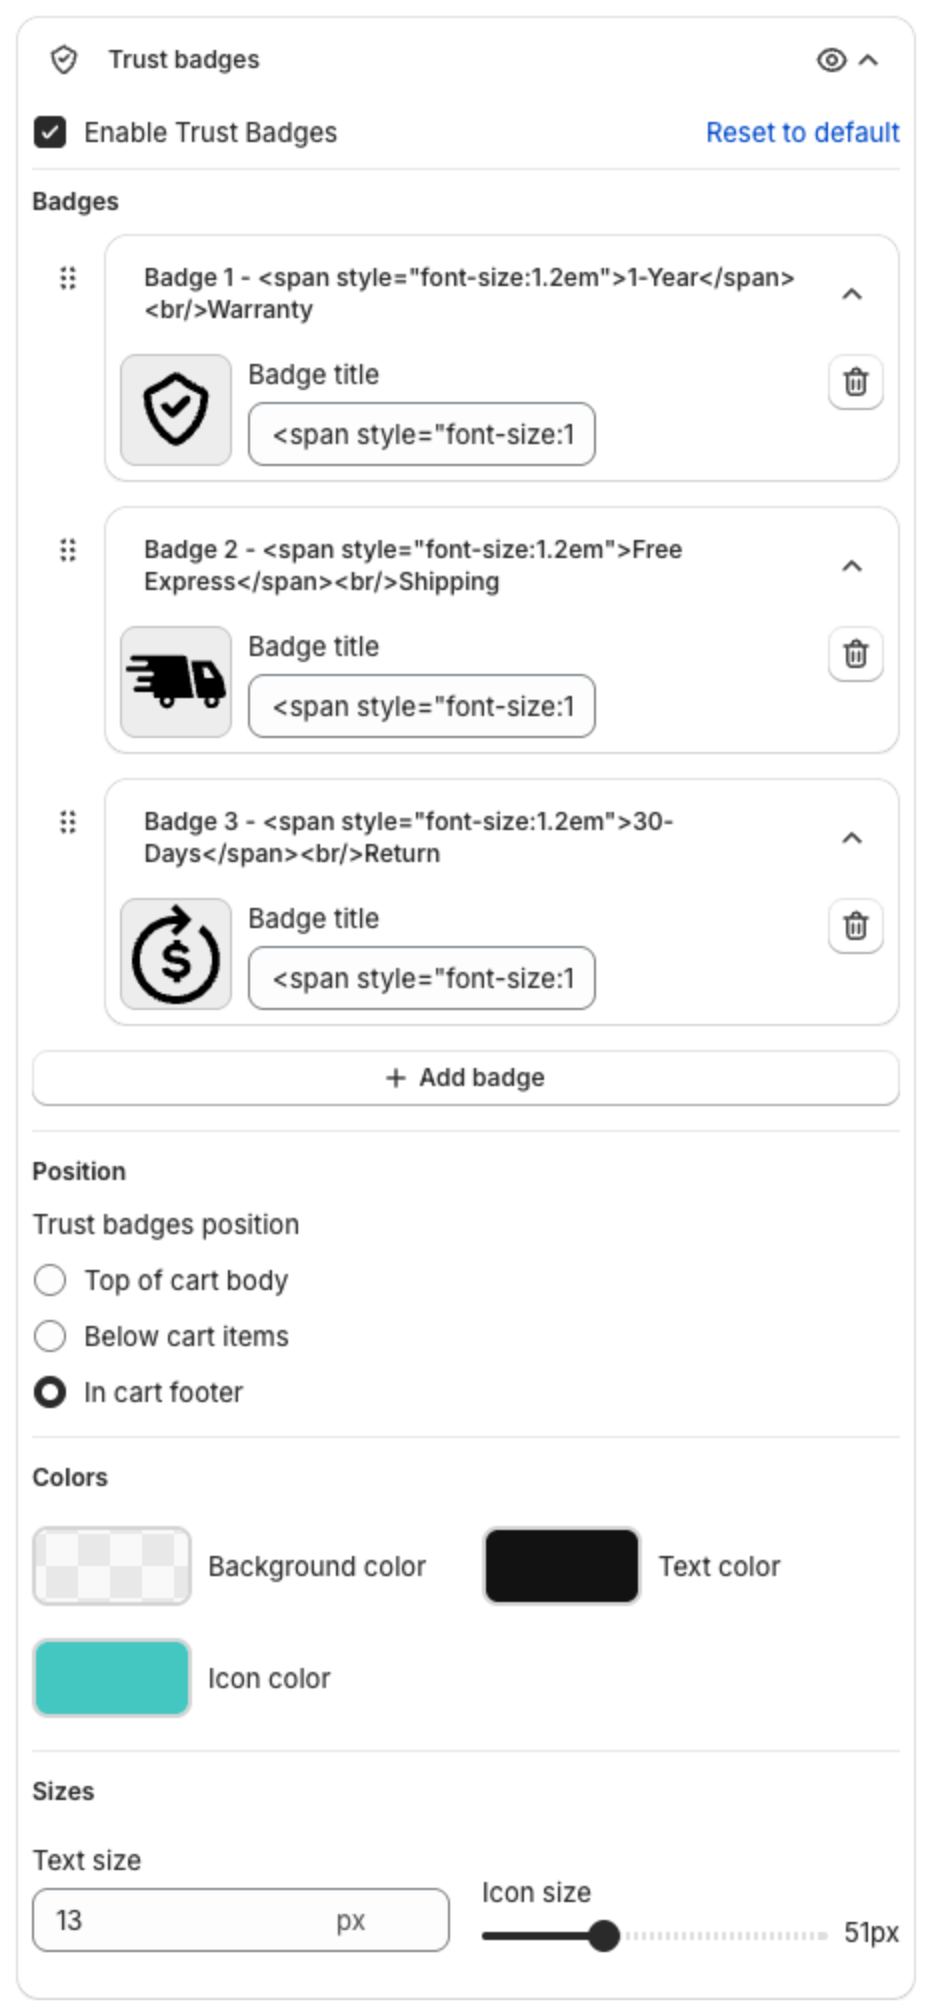
Payment icons and trust badges reassure shoppers before they check out. Payment icons show the cards and wallets you accept. Trust badges show short promises, for example "1-Year Warranty", "Free Express Shipping" and "30-Days Return".
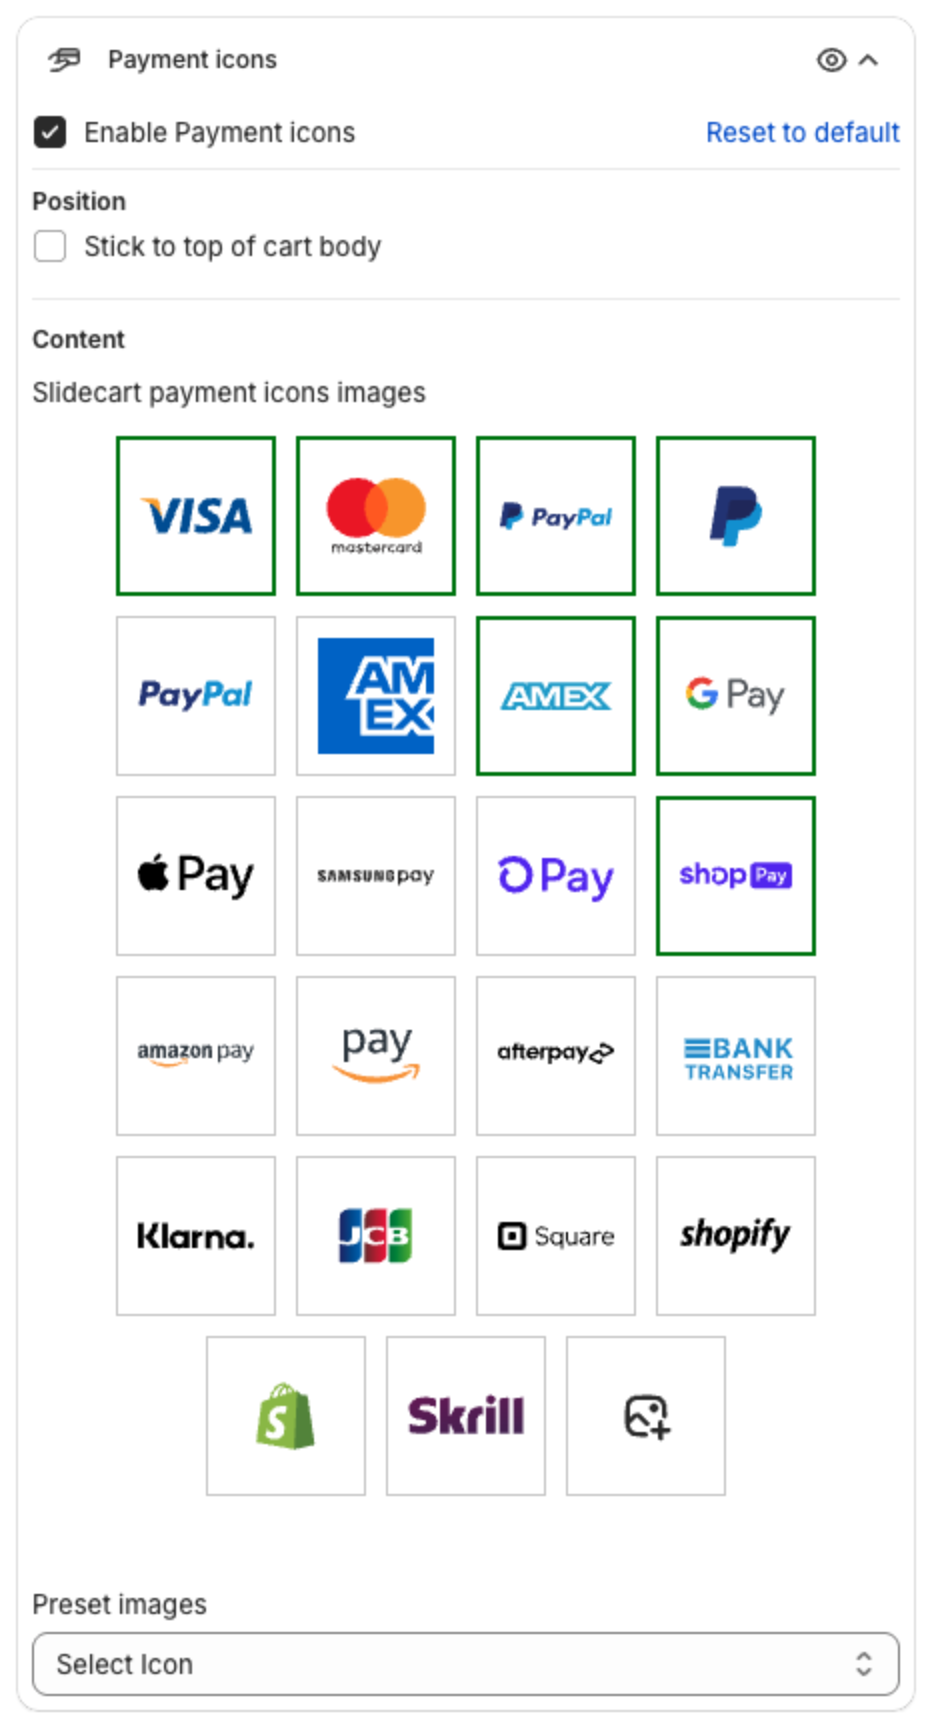
Payment icons
- Click Cart Drawer in the app menu.
- Click Footer, then Payment icons.
- Tick Enable Payment icons.
- Under Position, tick Stick to top of cart body to show the icons at the top of the cart instead of in the footer.
- Under Content, pick the icons from Preset images with Select Icon.
- Click Save in the bar at the top of the page.

Trust badges
- Click Footer, then Trust badges.
- Tick Enable Trust Badges.
- Under Badges, open each badge and edit its Badge title and icon. Click Add badge to add one.
- Under Position, pick the Trust badges position: Top of cart body, Below cart items or In cart footer.
- Set the Colors (Background color, Text color, Icon color) and Sizes (Text size, Icon size).
- Click Save in the bar at the top of the page.

To change the space between badges, use Custom CSS with the class .xbc_trust_badges_v2_wrapper. See How to add custom HTML and CSS to the cart.