How to create your first delivery estimate
Overview
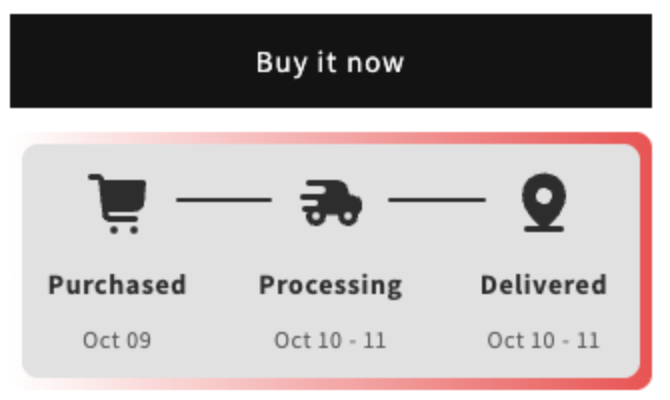
A delivery estimate shows shoppers when their order will arrive, for example "Order today within 01:16:40, you'll receive your package between Oct 09 and Oct 11", with a timeline of steps such as Purchased, Processing and Delivered. This guide walks you through your first estimate: pick a template, then set Placement, Content and Design.
Before you start
- Turn on the app embed. See How to enable the app embed.
- Know your processing time, shipping time, order cutoff time and working days.
Steps
1. Start a new estimate
- Open Xboost Estimated Delivery from Apps in your Shopify admin.
- Click Create Estimated Delivery on the dashboard or on the Estimated Delivery page.
- On Select Estimated Delivery Type, click Create an offer on the Delivery Countdown card.
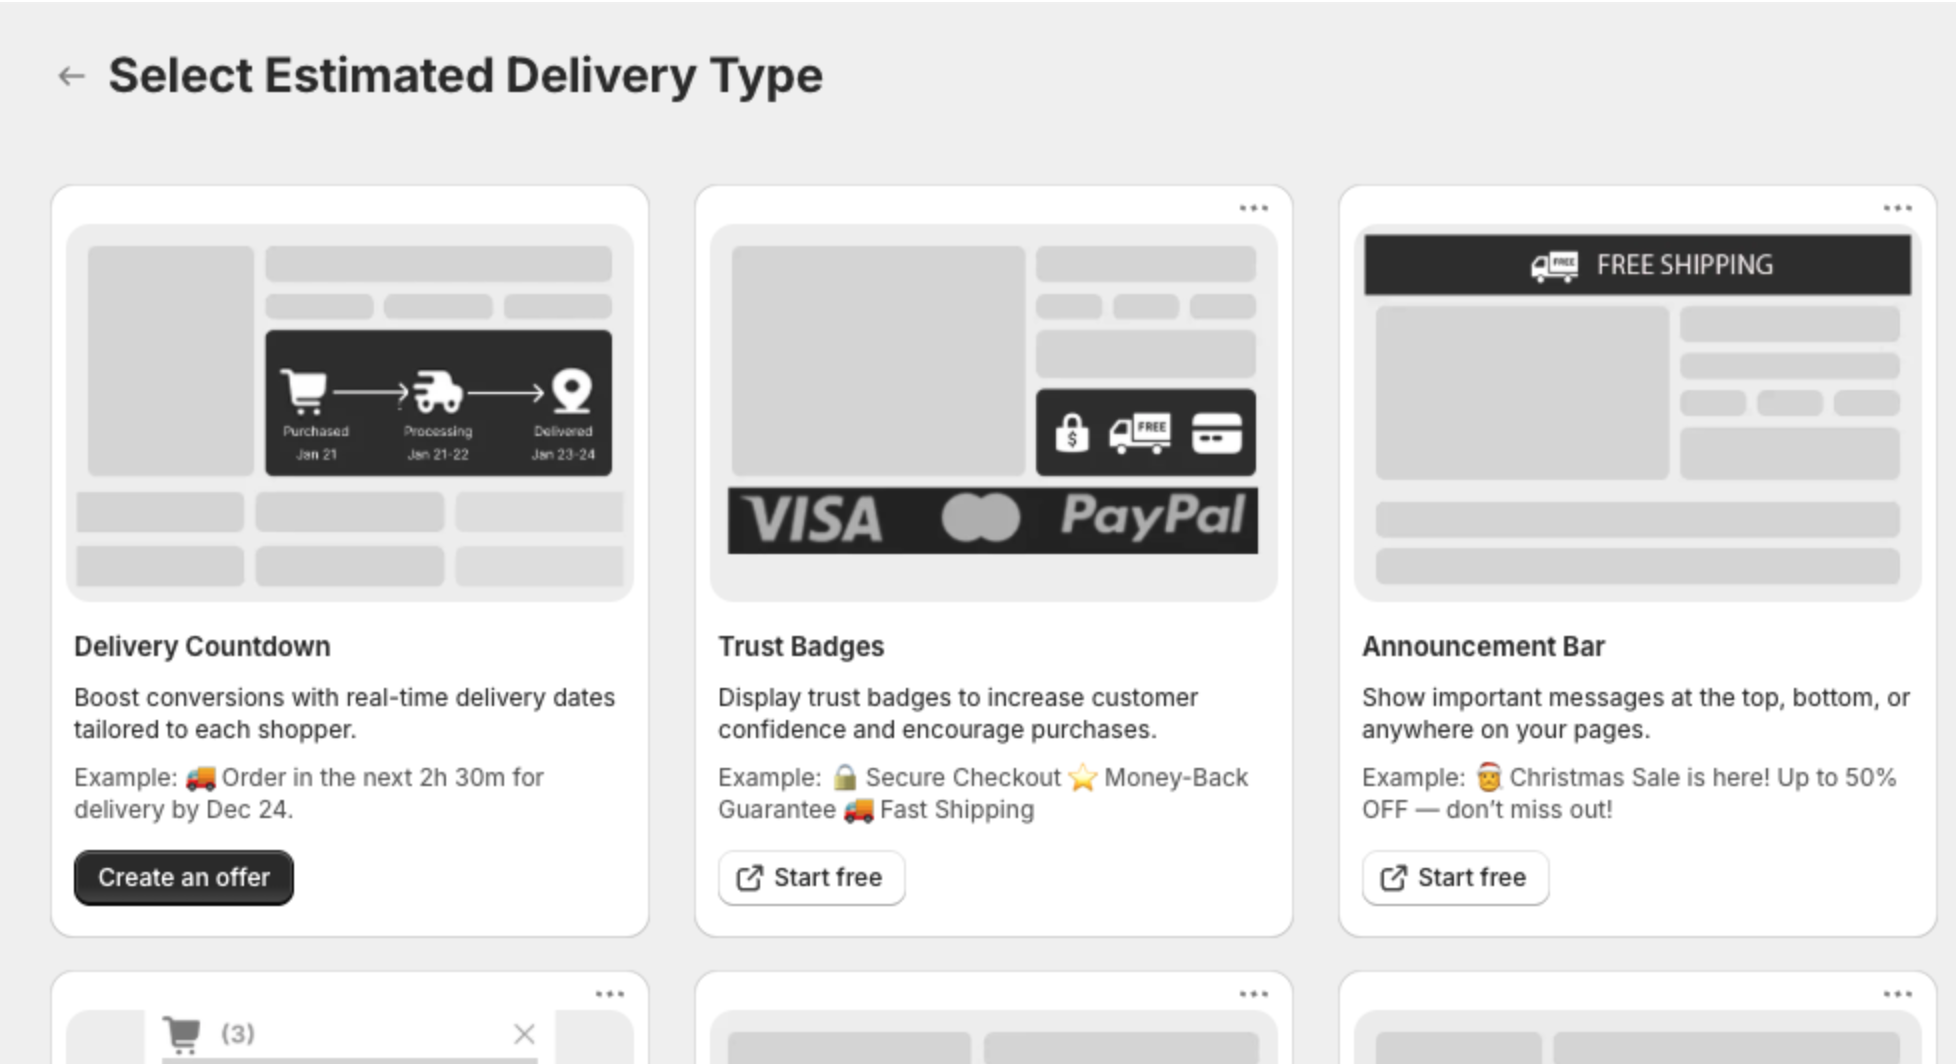
The other cards belong to other XBoost apps. Their Start free buttons open those apps on the Shopify App Store.
2. Pick a template
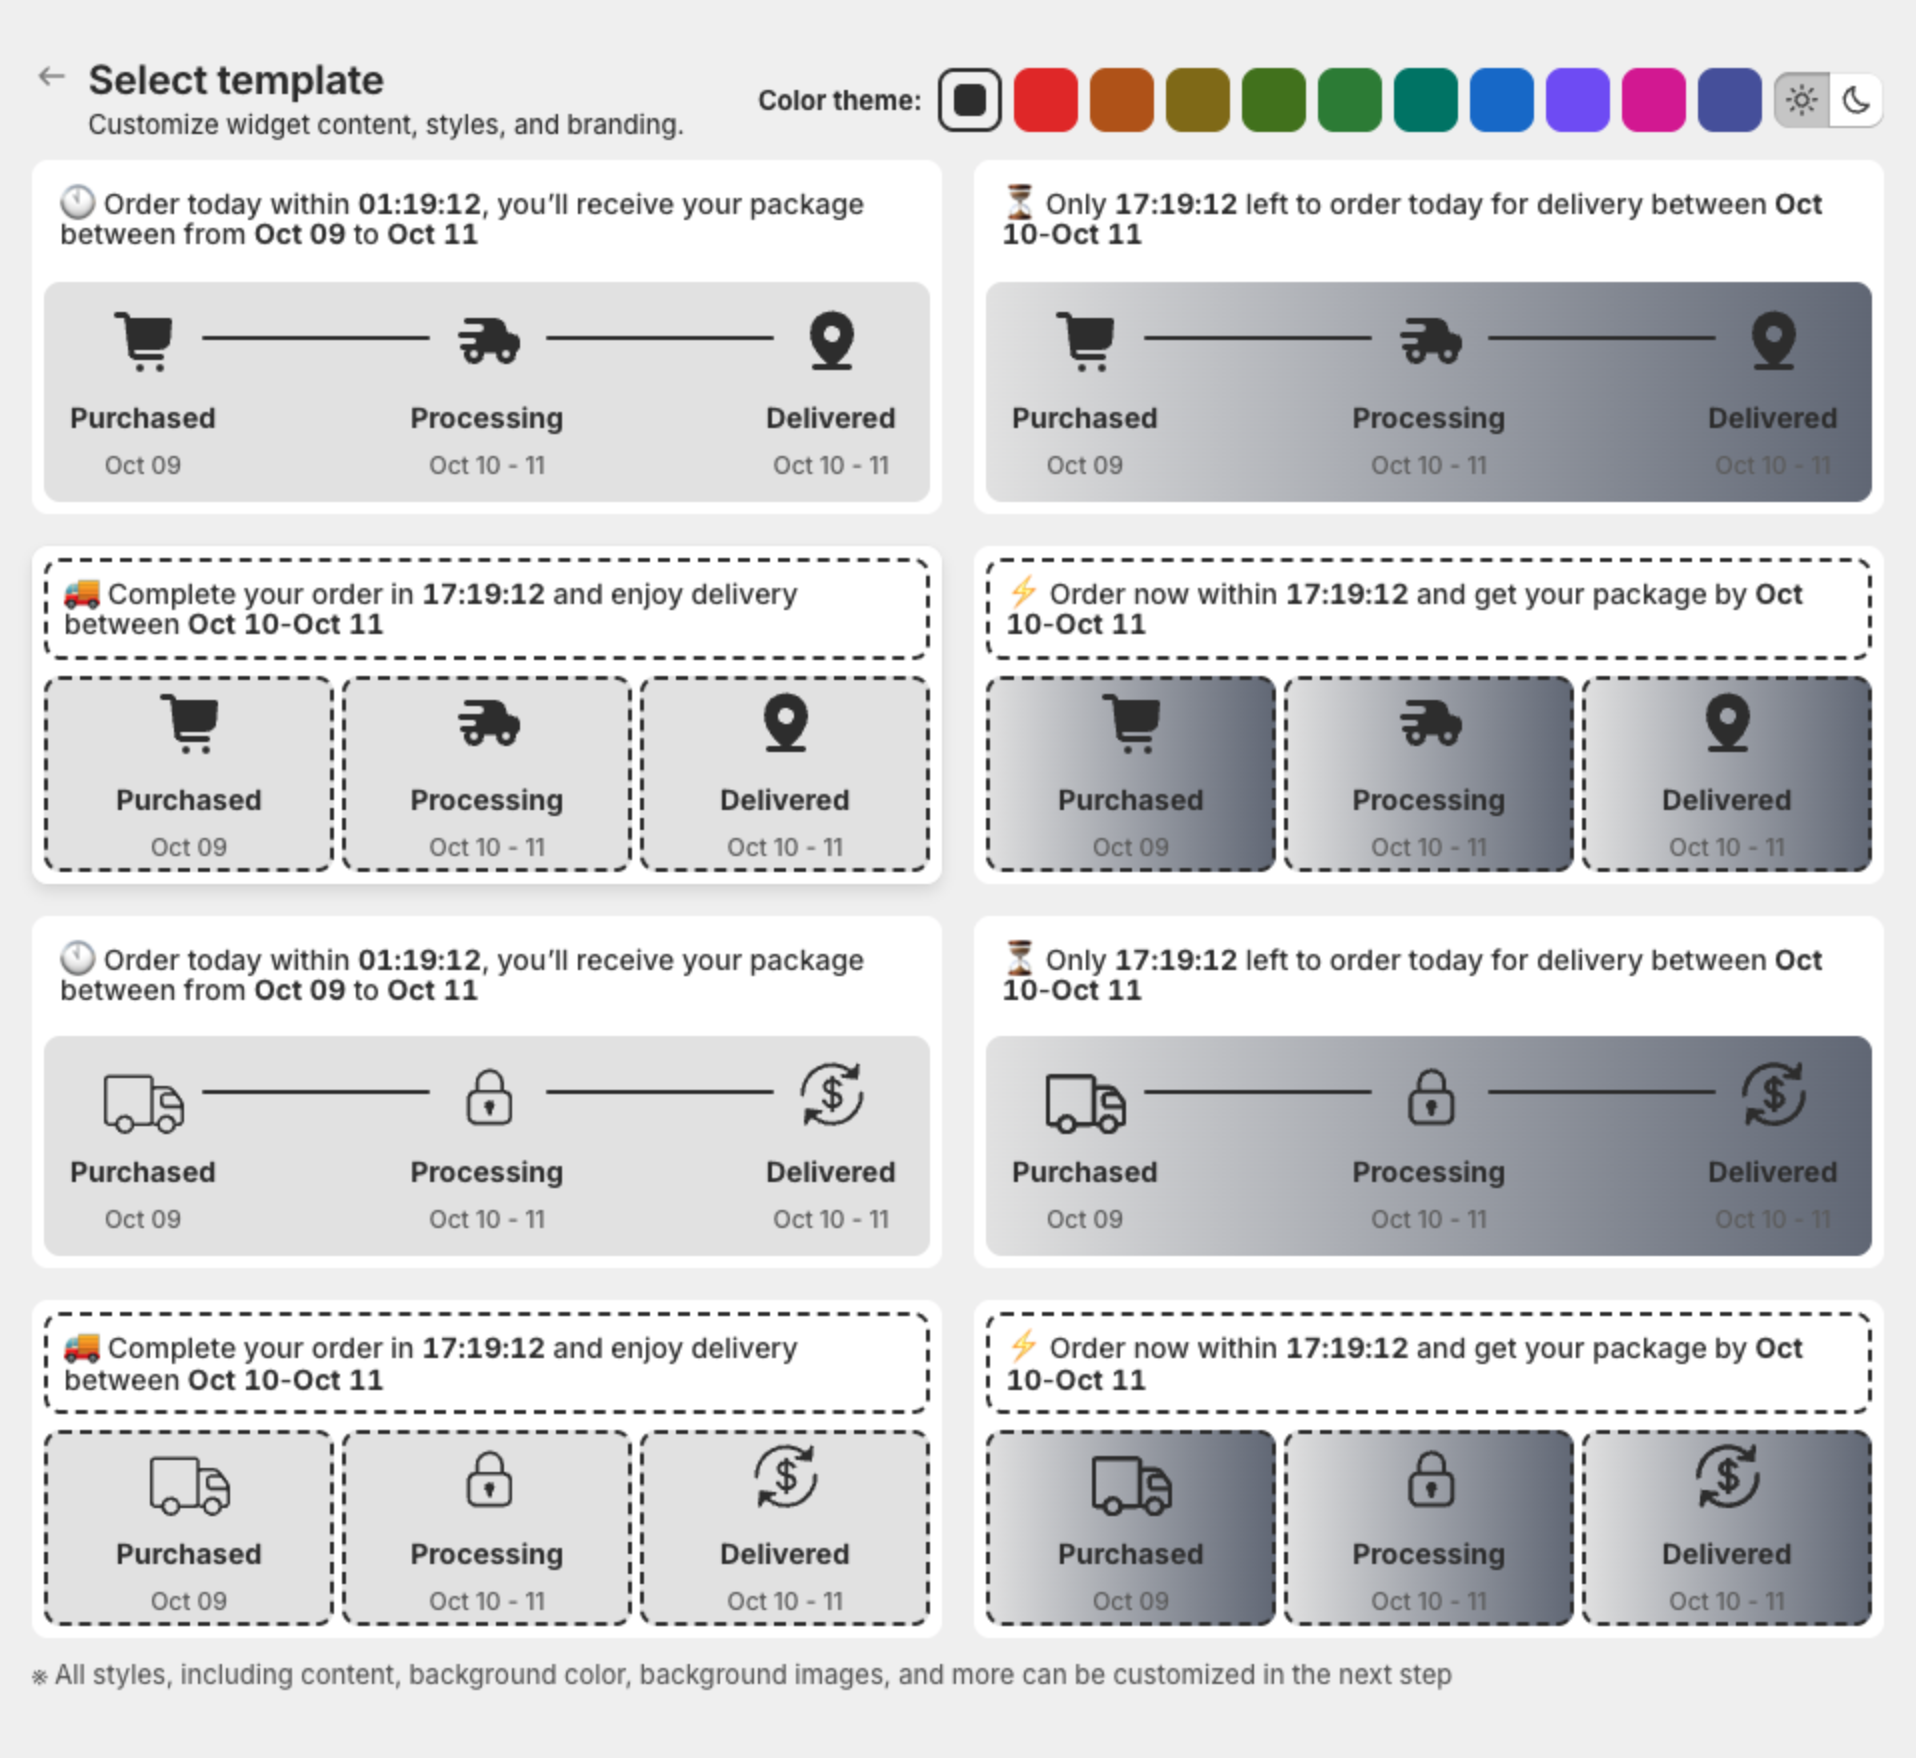
Optional: pick a Color theme, then click a template. Templates differ in message and icon style; all show a countdown and a delivery timeline.
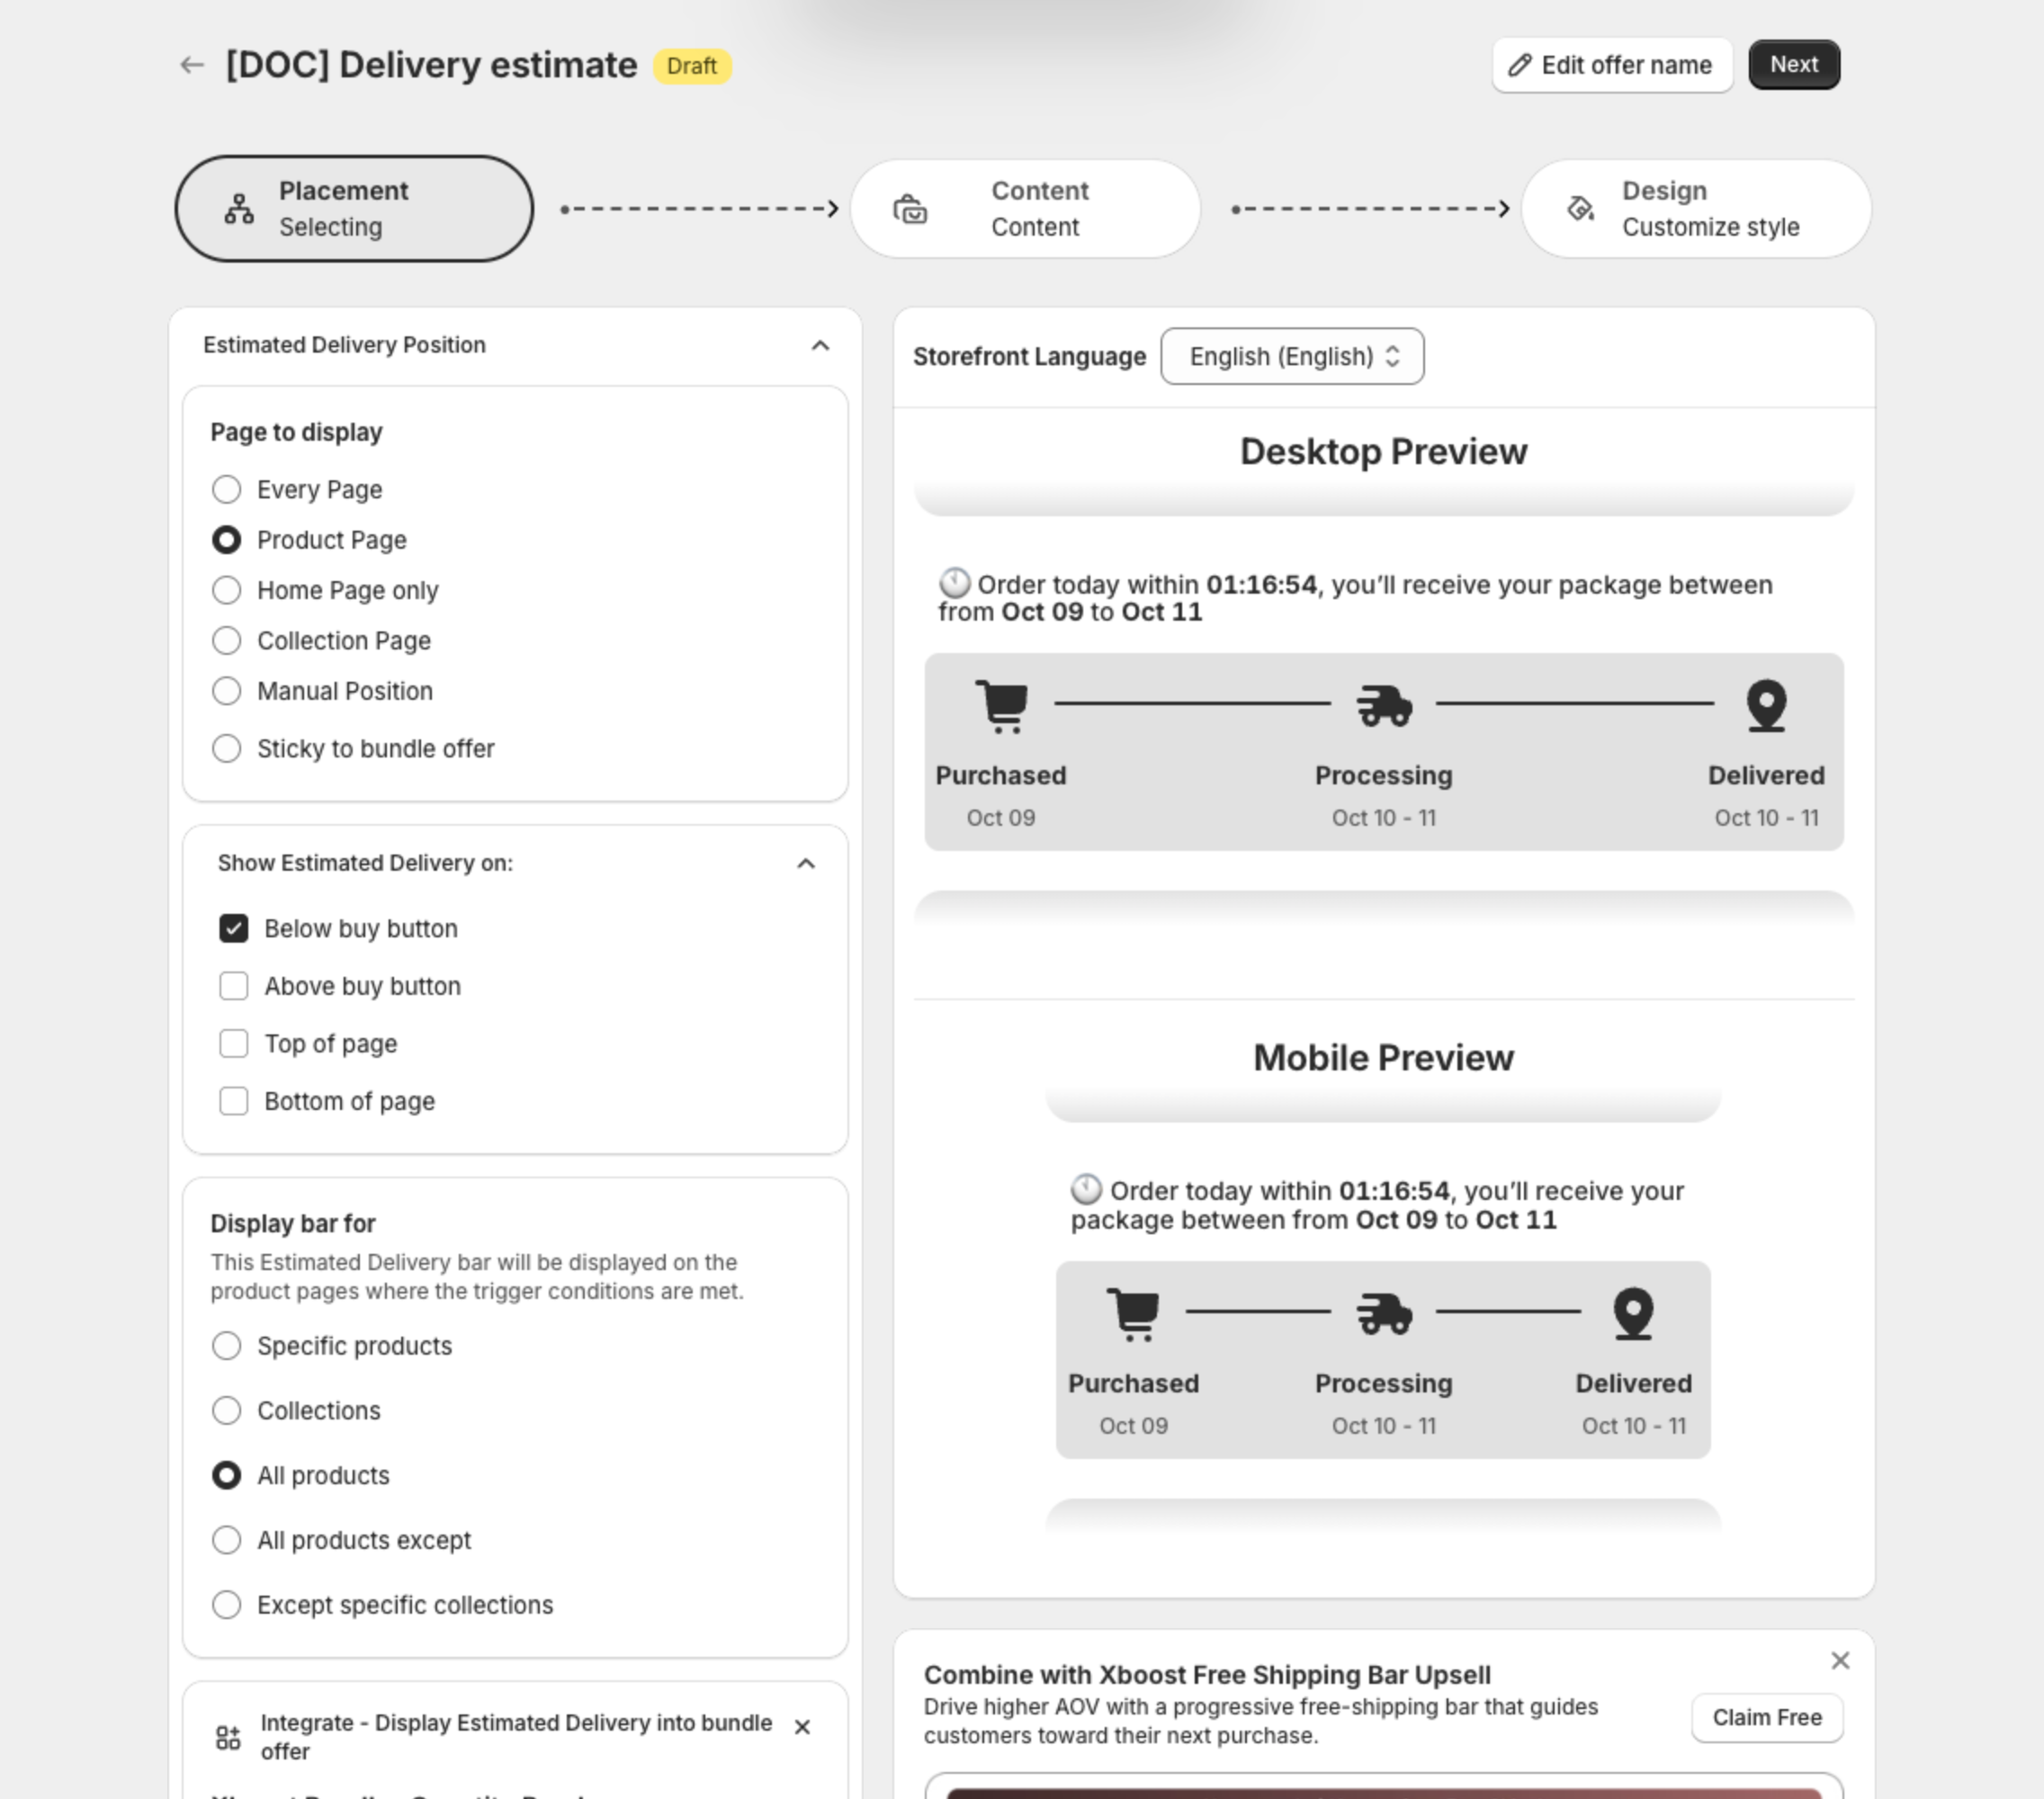
The estimate opens as a Draft. Click Edit offer name to name it (up to 30 characters). Shoppers do not see this name.
3. Choose where it shows (Placement)
Keep the defaults for a first estimate: Product Page, Below buy button, All products, All countries, Desktop and Mobile. Click Next.
4. Set the message and delivery steps (Content)
- Check the Description message. It uses variables such as
{counter}and{step_3_to}. - Open Processing and set Min waiting time, Max waiting time, Cutoff time and Working days to match how you prepare orders.
- Open Delivered and set the shipping time in Min waiting time and Max waiting time.
- Click Next.
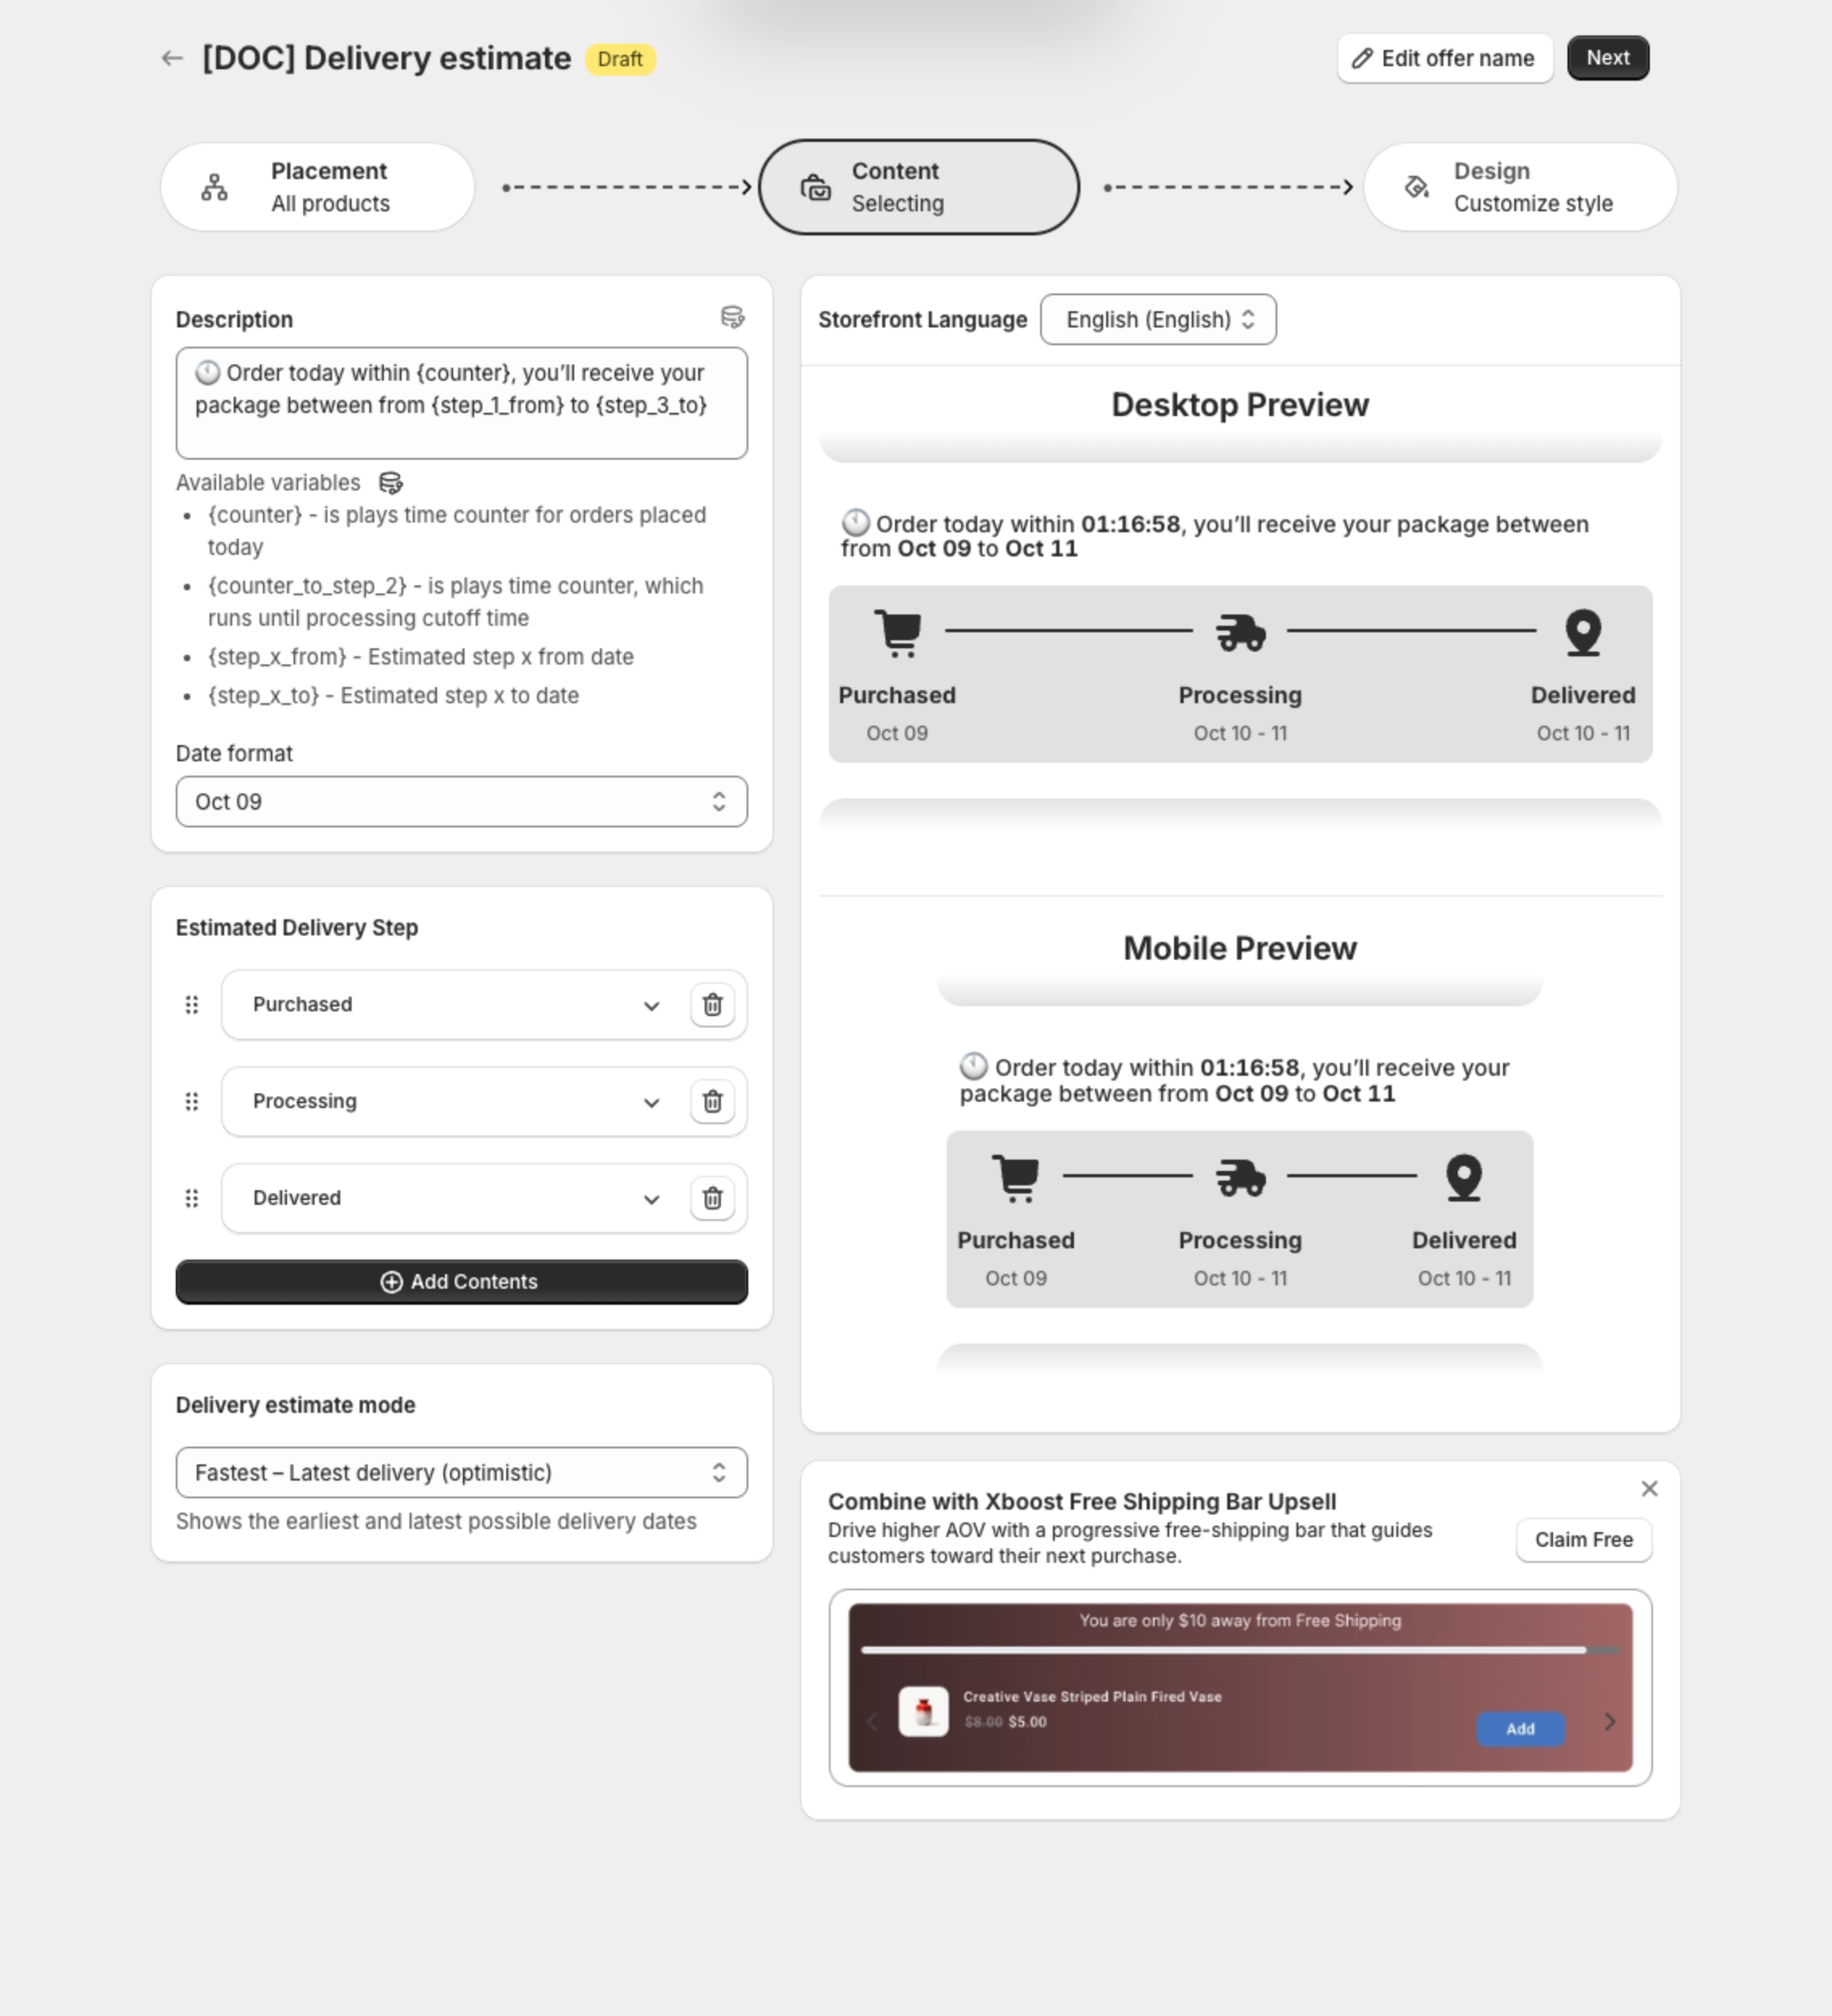
For how the dates are calculated, see How to set the delivery steps and dates.
5. Adjust the look (Design)
Change layout, sizes and colors if you want. See How to customize the delivery estimate design.
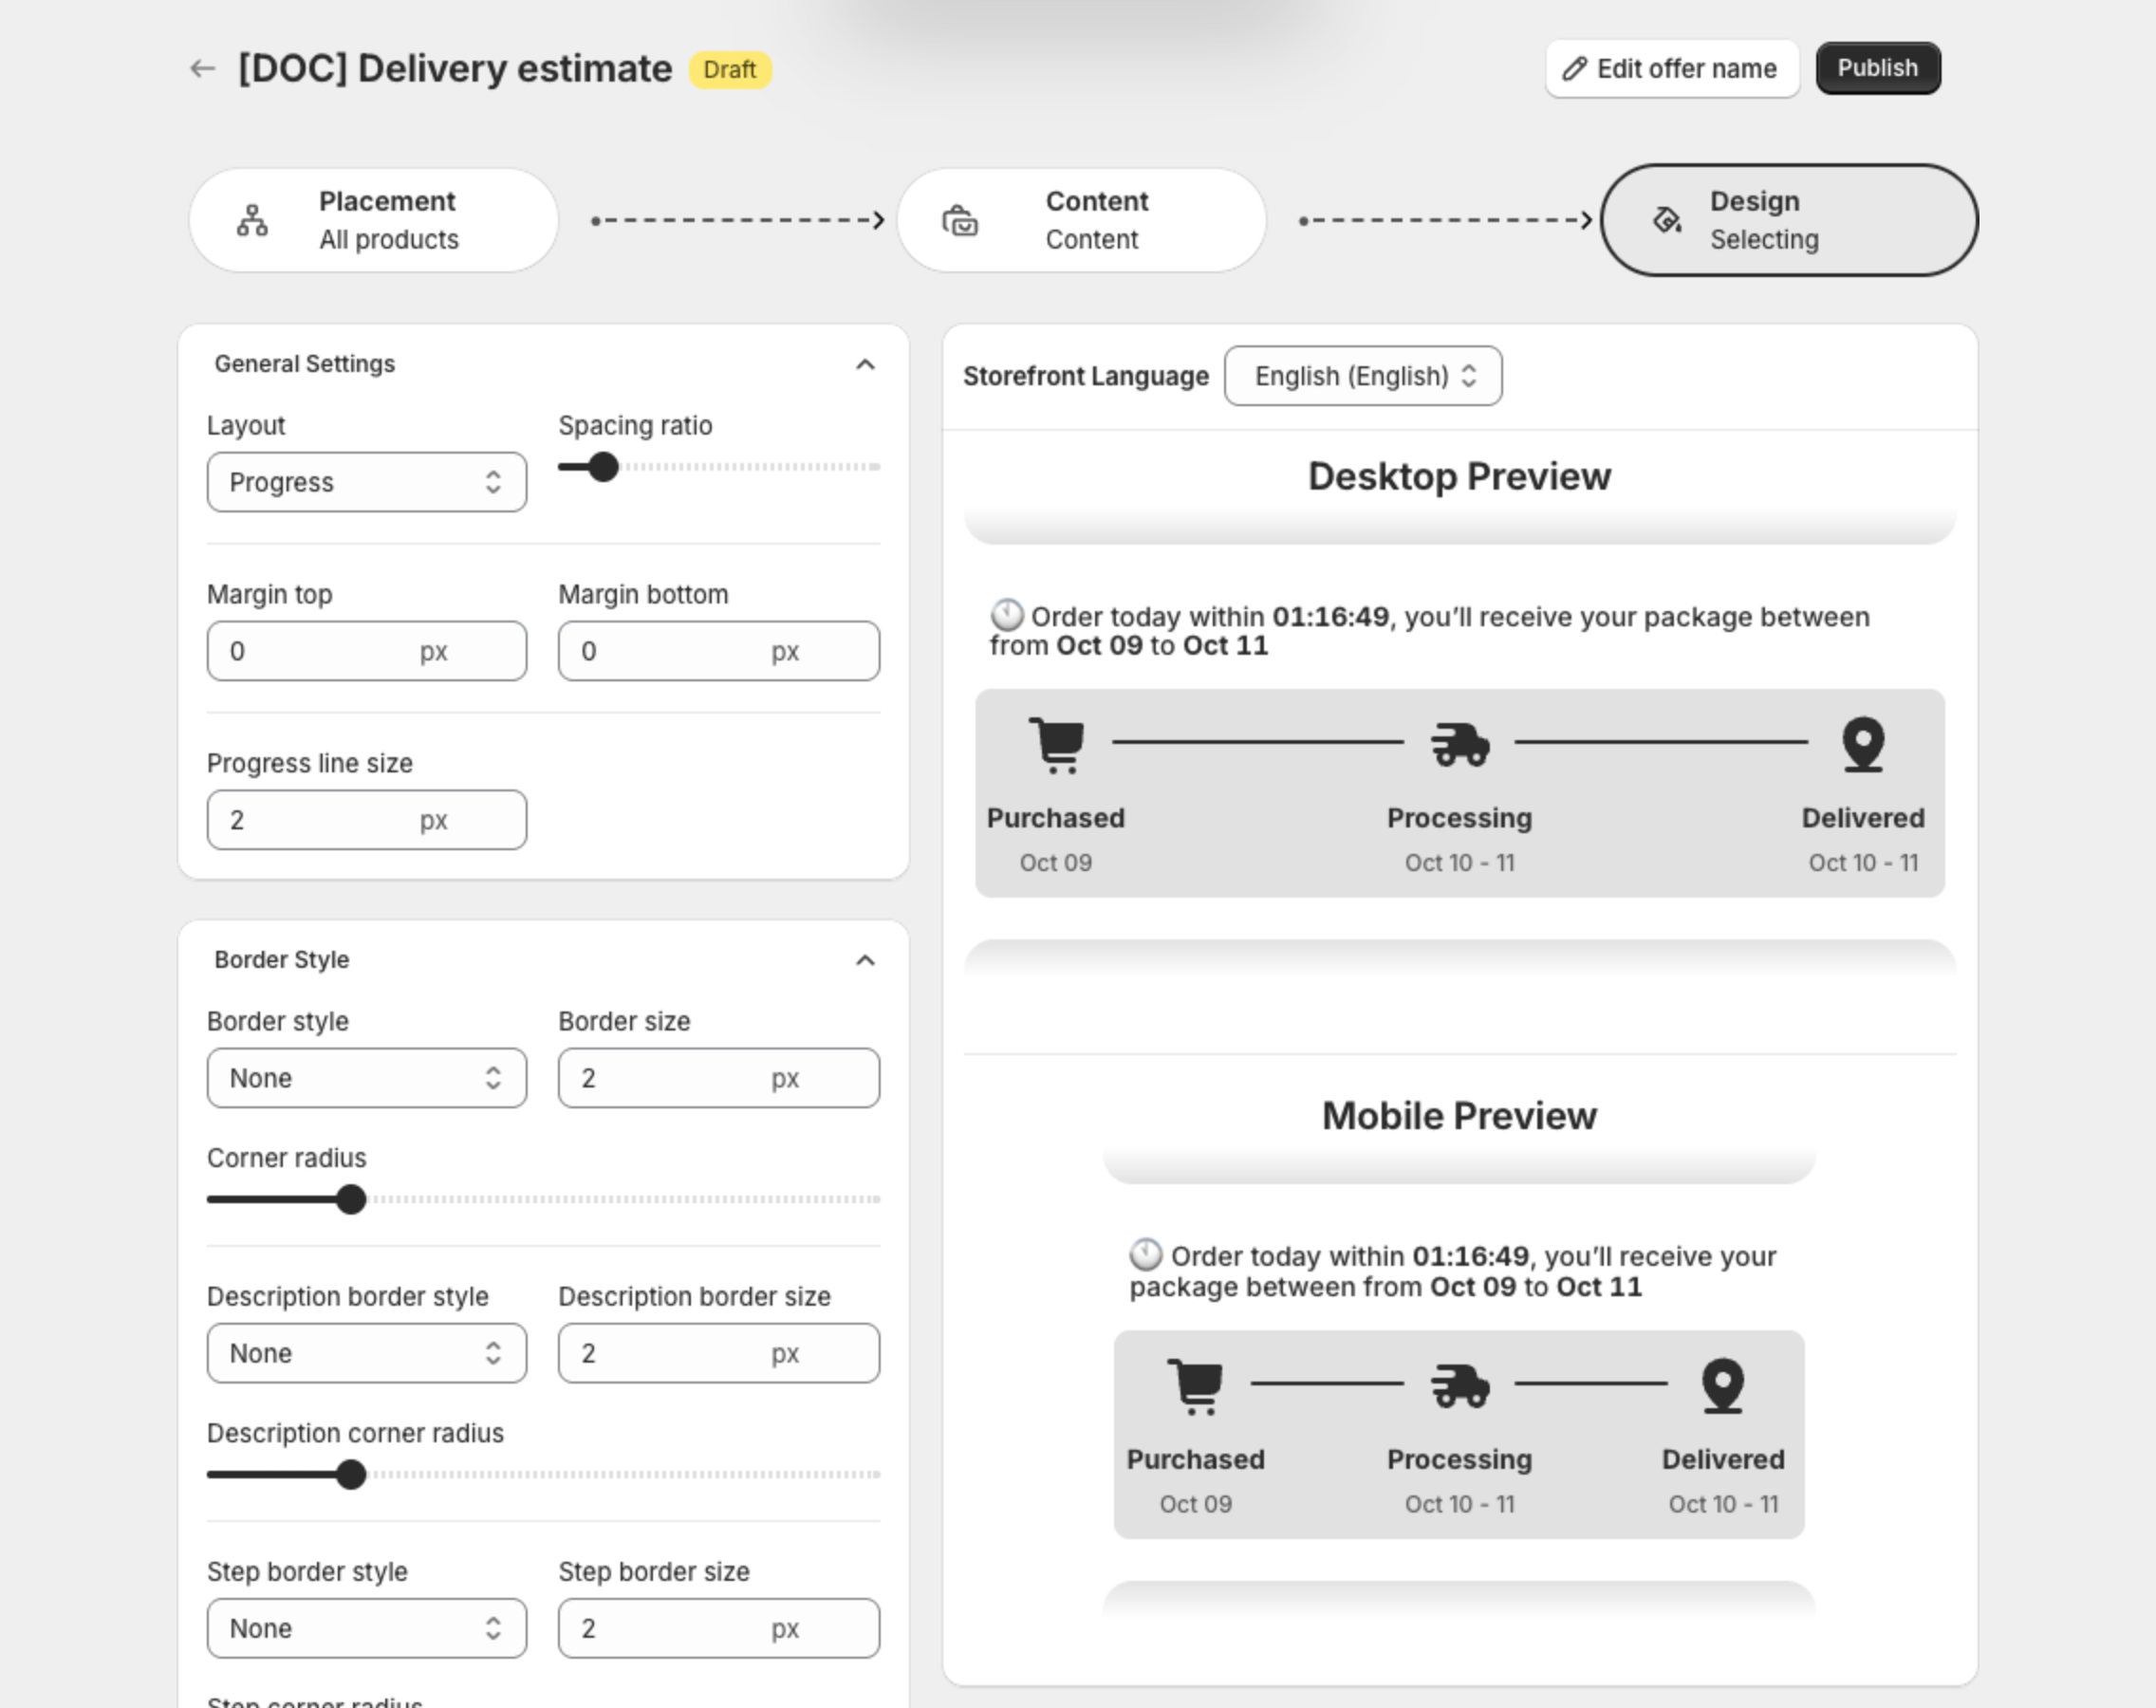
6. Publish and check your store
Click Publish. Open a product page: the estimate shows below the buy buttons.