
How to customize the delivery estimate design
Overview
The Design step controls how the estimate looks. The template you picked sets the starting values. The estimate uses your theme's font; to use another font, add custom CSS (step 6).
Steps
1. Open the Design step
Open Estimated Delivery, click the estimate name, then click Design.
2. Set the layout
Under General Settings:
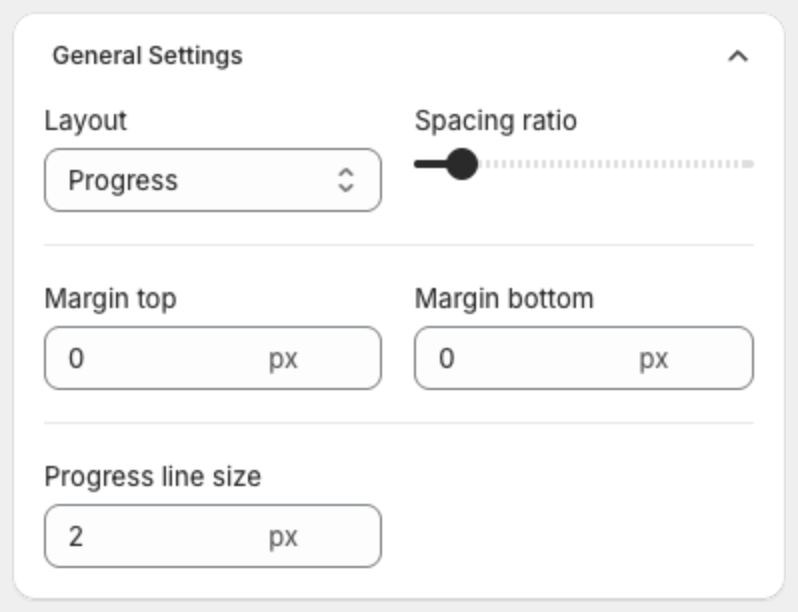
| Setting | What it does |
|---|---|
| Layout | Progress shows the steps on a line. Table shows them in boxes. |
| Spacing ratio | Scales the space inside the estimate. |
| Margin top / Margin bottom | Space above and below the estimate, in pixels. |
| Progress line size | Thickness of the line between steps. |
3. Make the estimate smaller
- Lower Spacing ratio and set Margin top and Margin bottom to 0.
- Under Text Size, lower Icon size, Description size, Step label size and Lead days size.
- To hide the message line, clear the Description in the Content step.
4. Set borders and text sizes
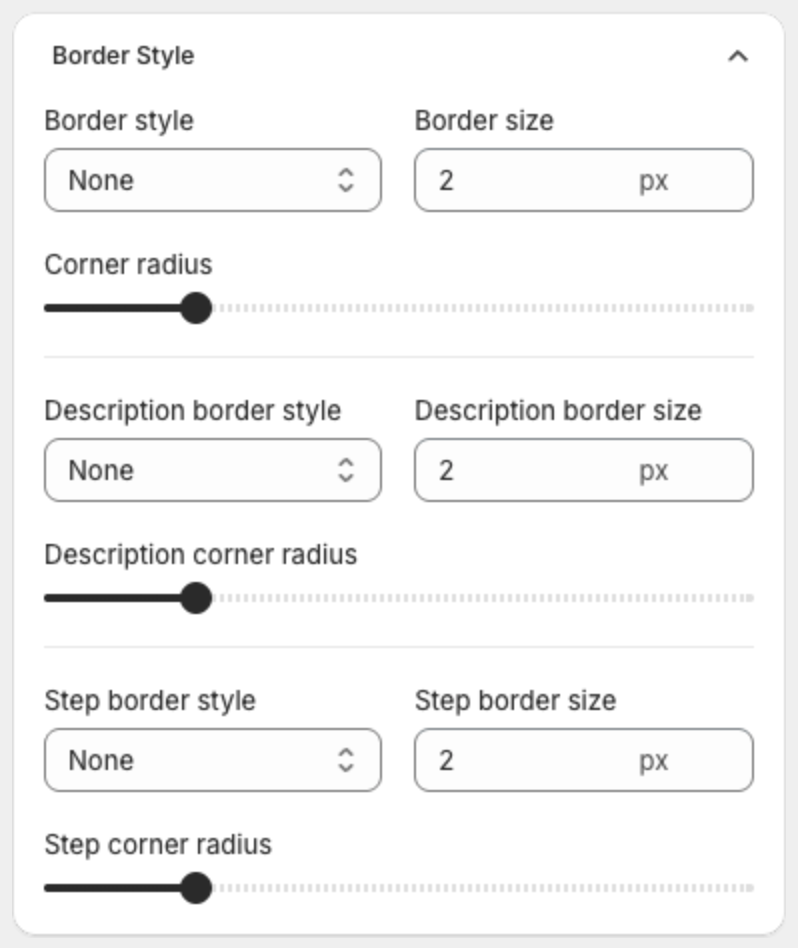
- Border Style — border style, size and corner radius of the whole estimate, of the description and of each step.
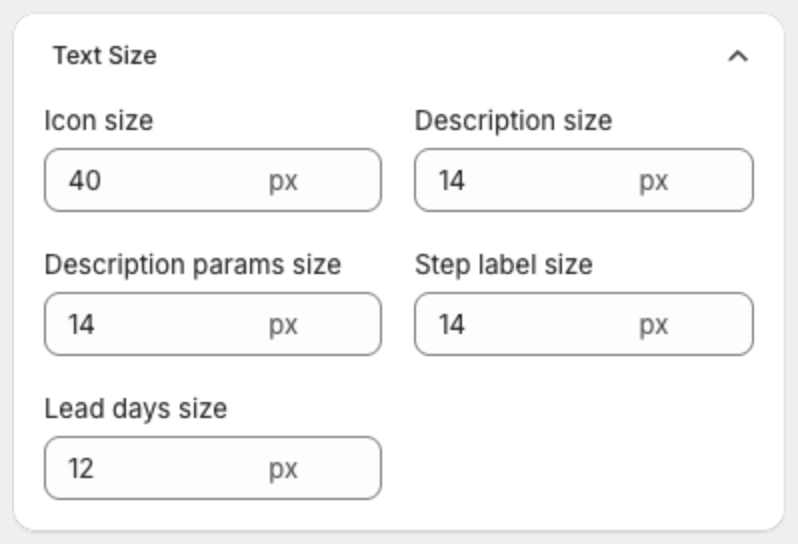
- Text Size — Icon size, Description size, Description params size (the variable values), Step label size and Lead days size (the dates under each step).
5. Set backgrounds and colors
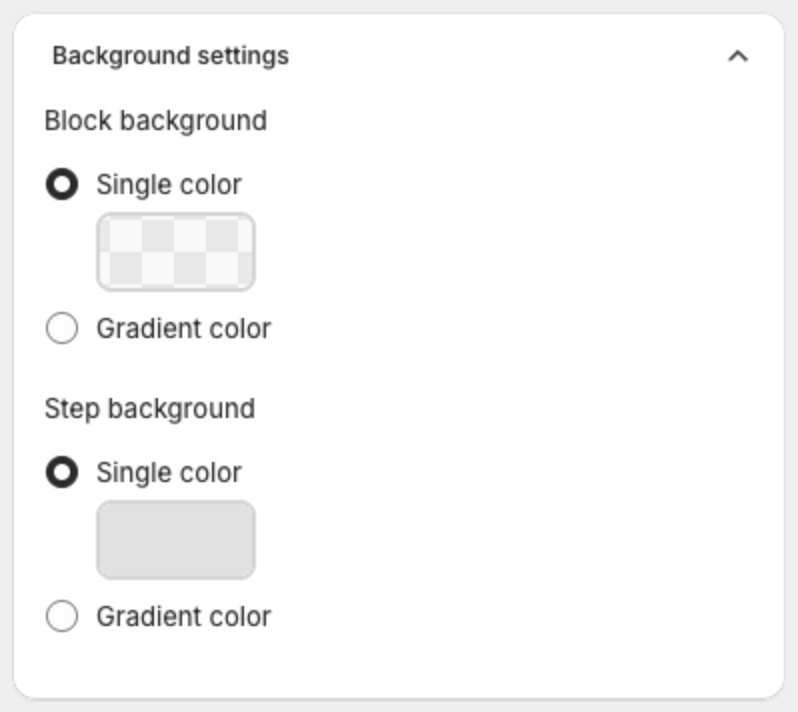
- Background settings — Block background and Step background: Single color or Gradient color.
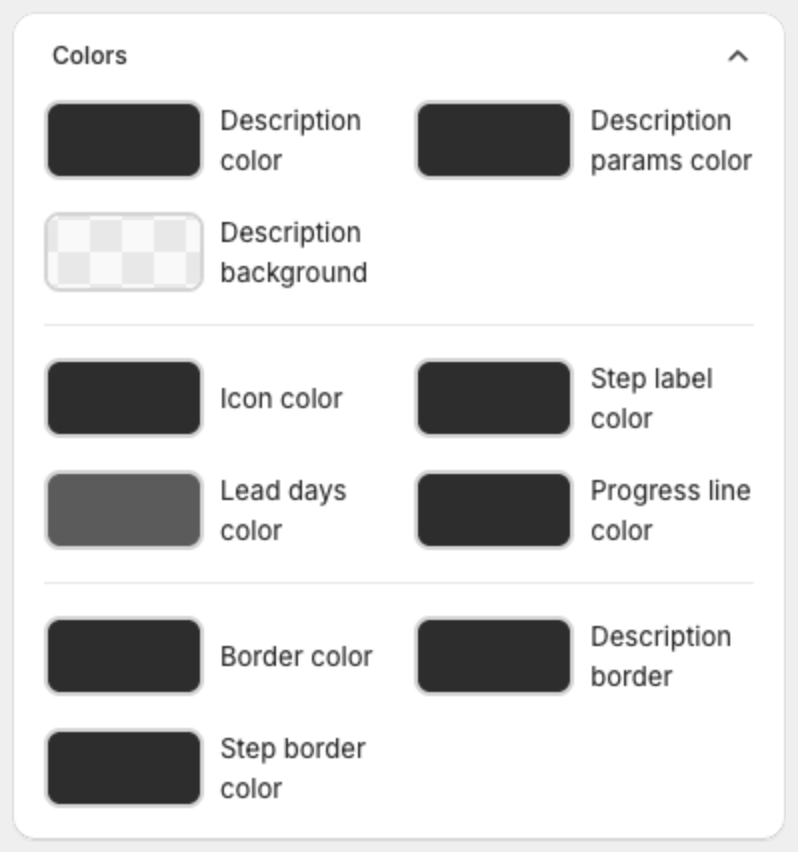
- Colors — description, variable values, icons, step labels, dates, progress line and borders.
6. Change the font or other styles with custom CSS (optional)
Under Advanced setting, add CSS in Custom CSS. It applies only to this estimate. Type a dot (.) to see the available classes, or click Show list.
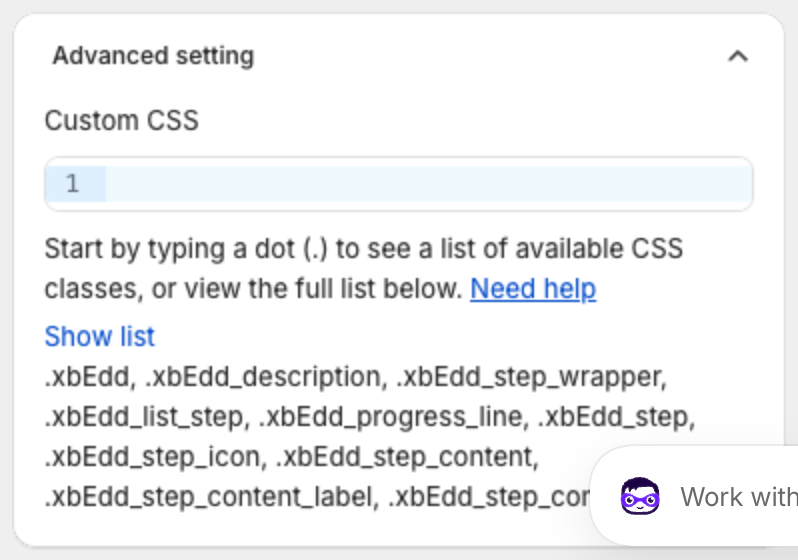
To use another font, paste this CSS and replace the font name. The font must already be available on your store.
.xbEdd_description,
.xbEdd_step_content_label,
.xbEdd_step_content_time {
  font-family: Georgia, serif;
}
7. Save
Click Save in the bar at the top of the page, or Publish if the estimate is still a draft.