How to create your first countdown timer
Overview
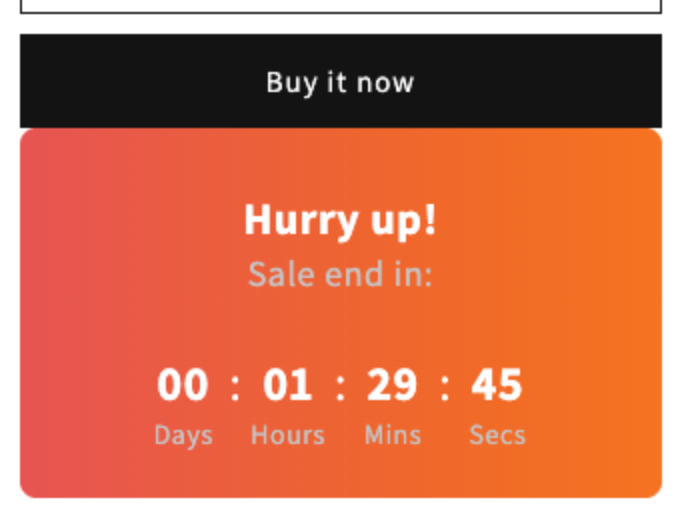
A countdown timer adds urgency, for example "Hurry up! Sale ends in 00:01:29:45". You can show it as a bar at the top or bottom of your store, on product pages, or on your password and collection pages. This guide creates a timer on product pages: pick a type and a template, then set Placement, Content and Design.
Before you start
- Turn on the app embed. See How to enable the app embed.
Steps
1. Choose the timer type
- Open XB: Countdown Timer from Apps in your Shopify admin.
- Click Create countdown timer on the dashboard or on the Countdown Timer bars page.
- On Select Countdown Timer type, click Create an offer on one of these cards:
- Top Bottom Bar — a bar at the top or bottom of your pages.
- Product Page Countdown Timer — a timer on product pages, for example below the buy button.
- Landing Page — a timer on your password page or collection pages.
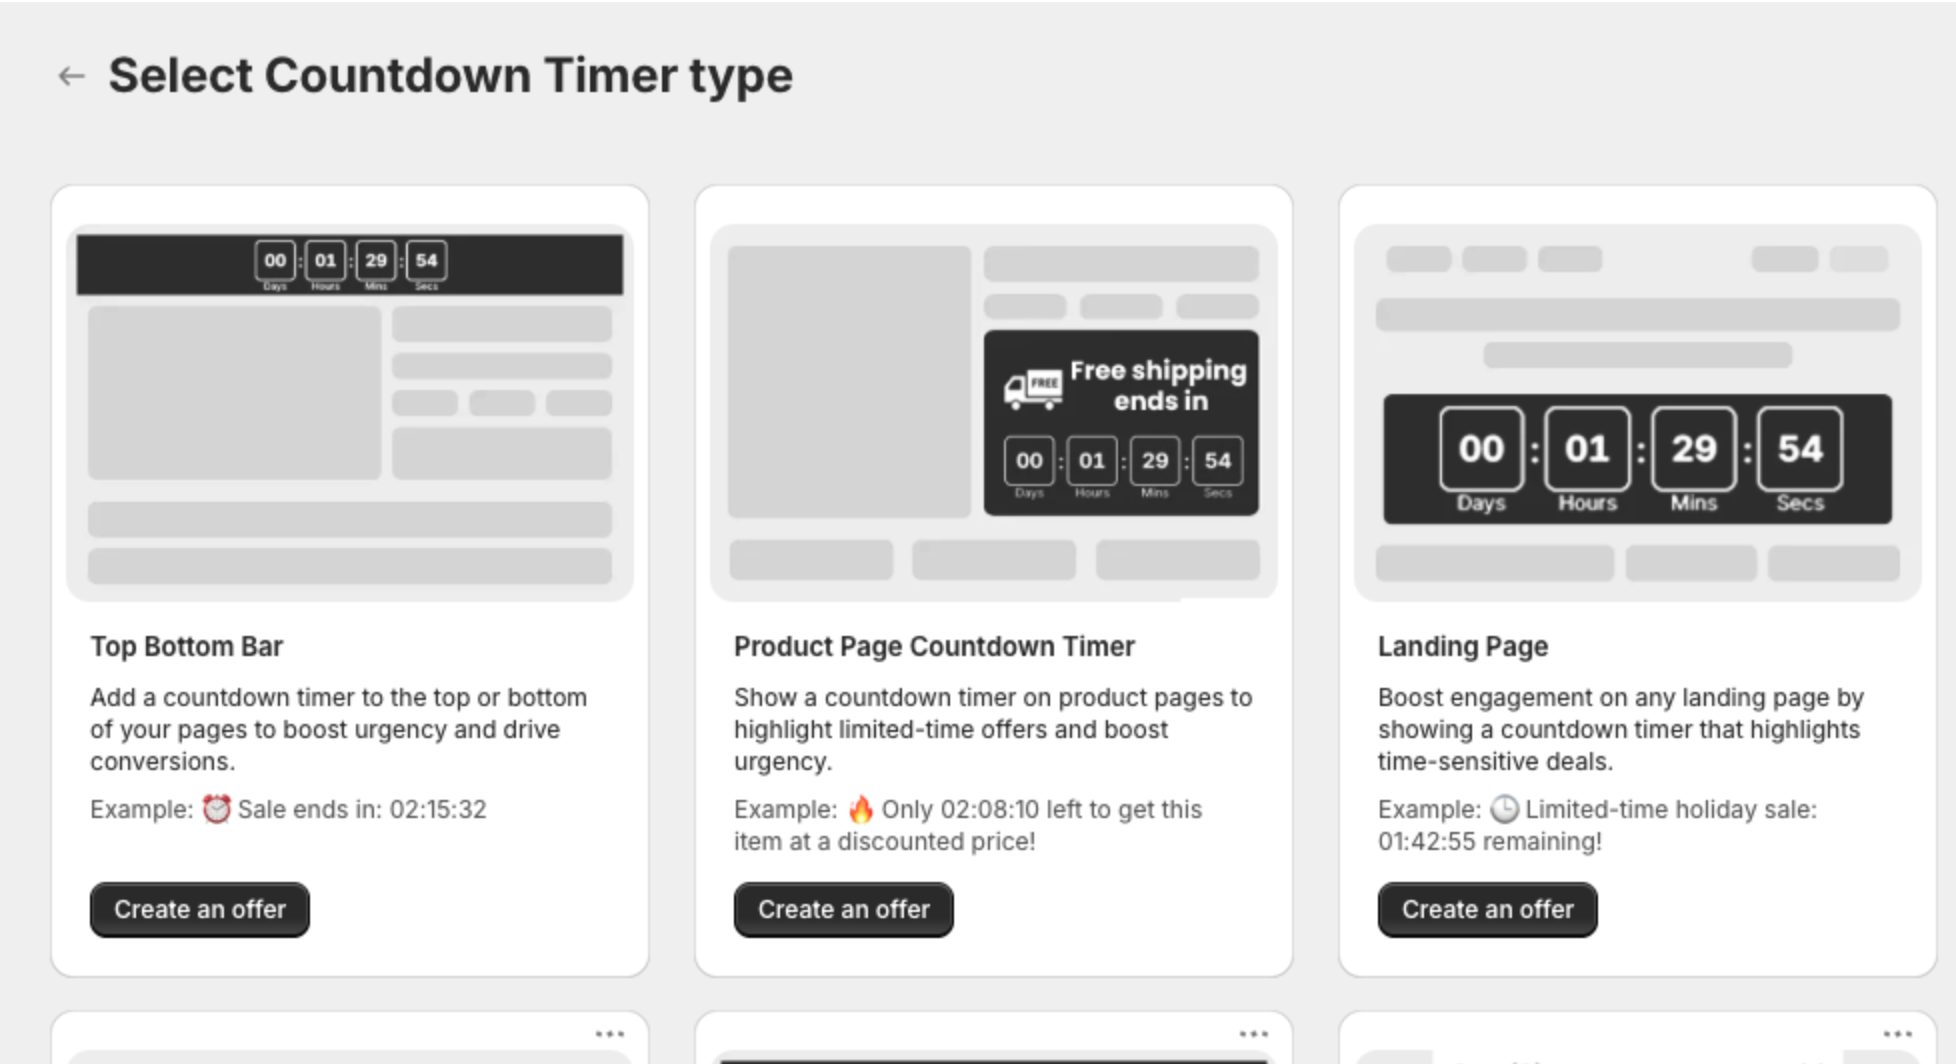
The other cards on this page belong to other XBoost apps. Their Start free buttons open those apps on the Shopify App Store.
2. Pick a template
Optional: pick a Color theme, then click a template.
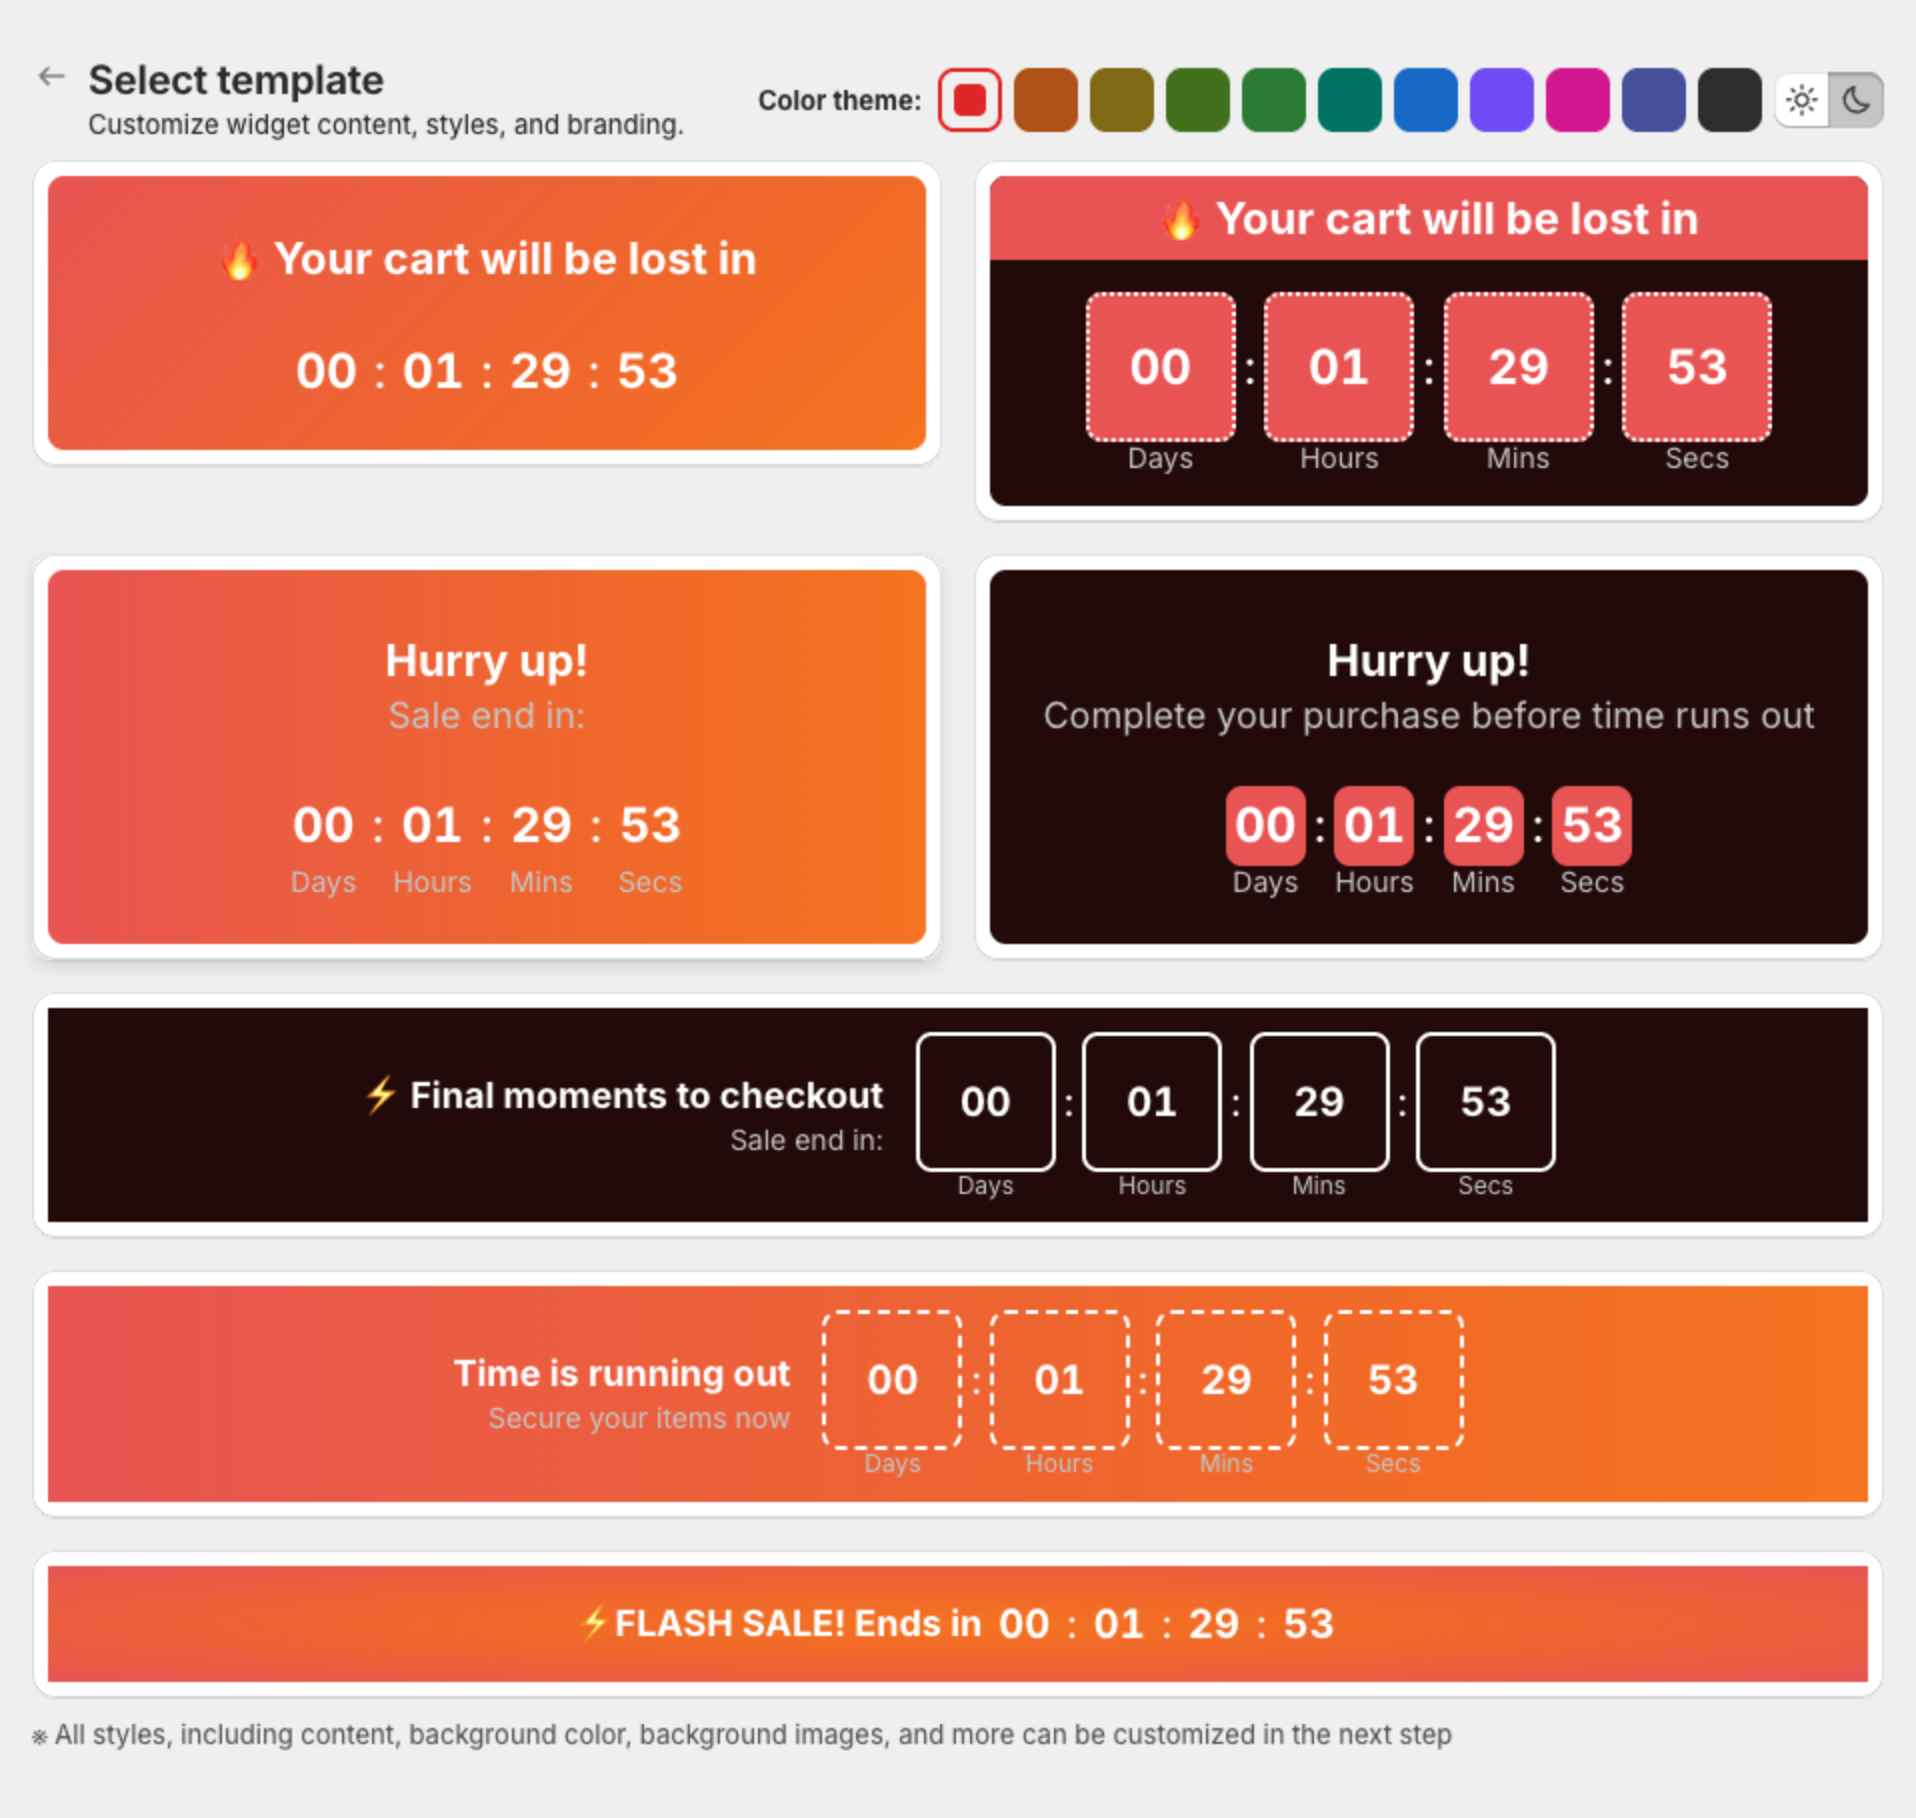
The timer opens as a Draft. Click Edit offer name to name it (up to 30 characters). Shoppers do not see this name.
3. Choose where it shows (Placement)
For a product page timer, keep Product Page, Below buy button and All products, or pick other options. Click Next.
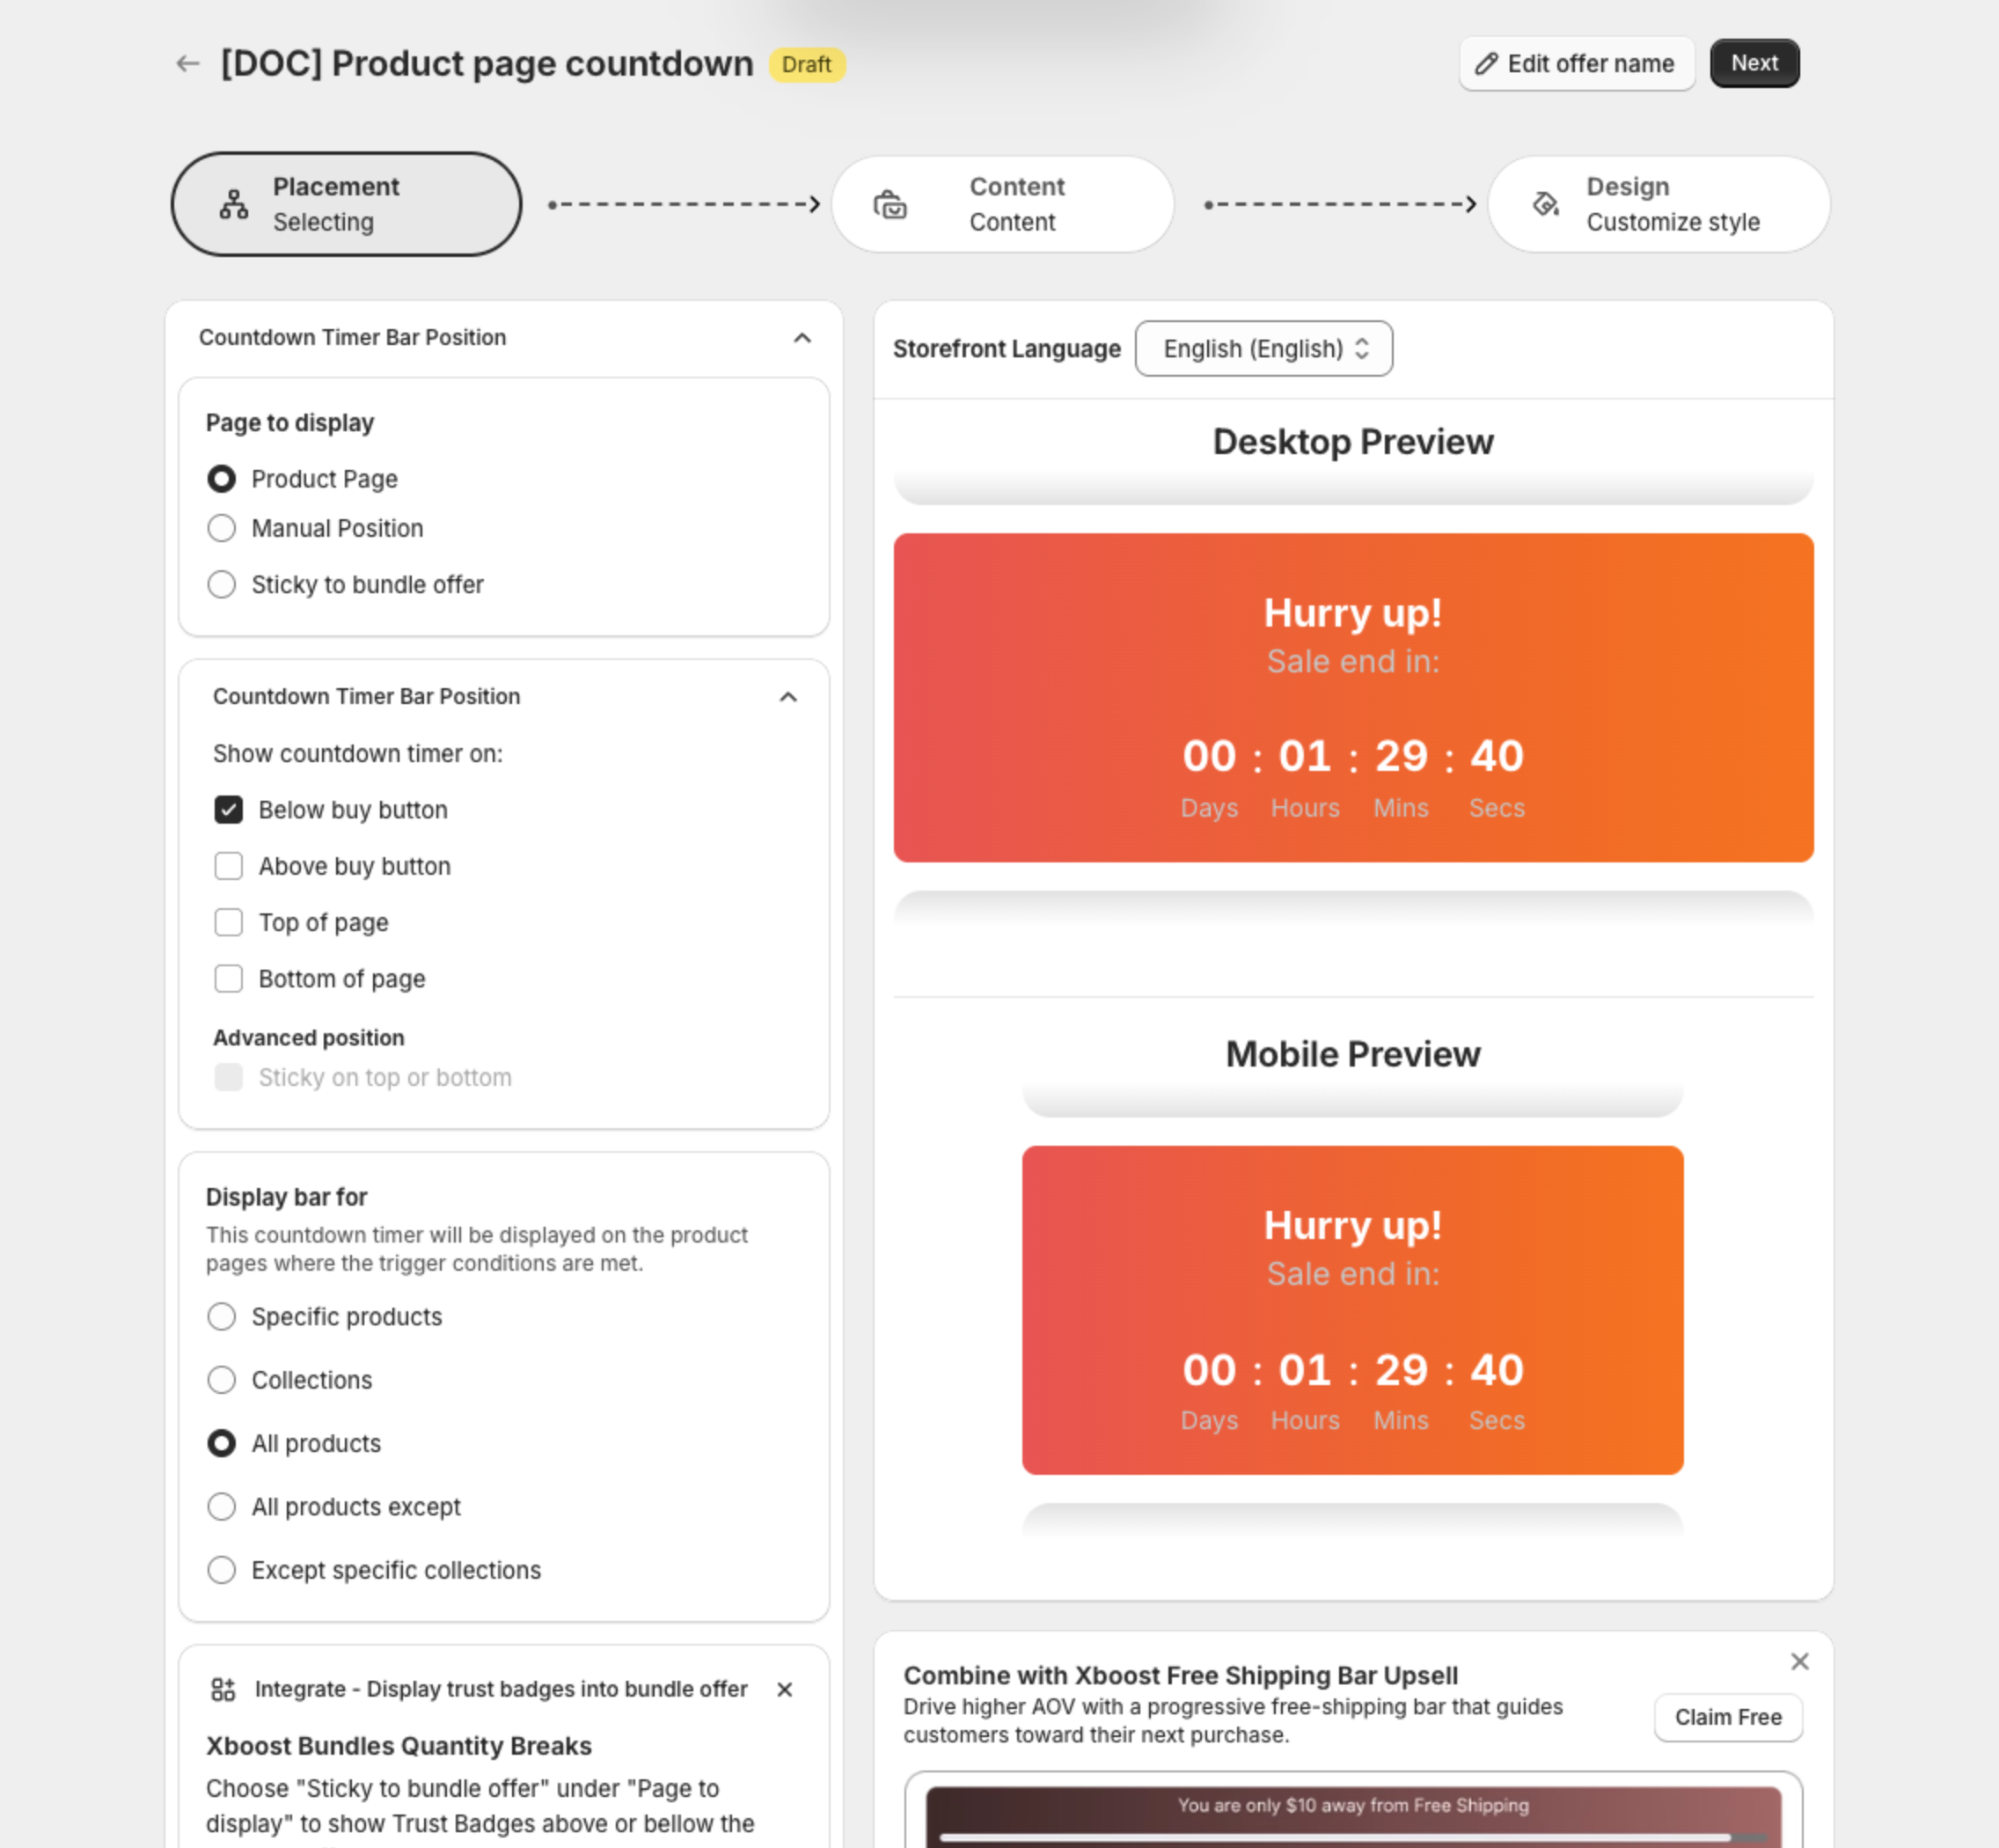
See How to choose where the countdown timer shows.
4. Set the timer (Content)
- Under Countdown Timer Bar Content Tier, click the message to open it.
- Under Timer Setting, choose the Timer type and its time, and what happens when the timer ends.
- Change the Title and other texts.
- Click Next.
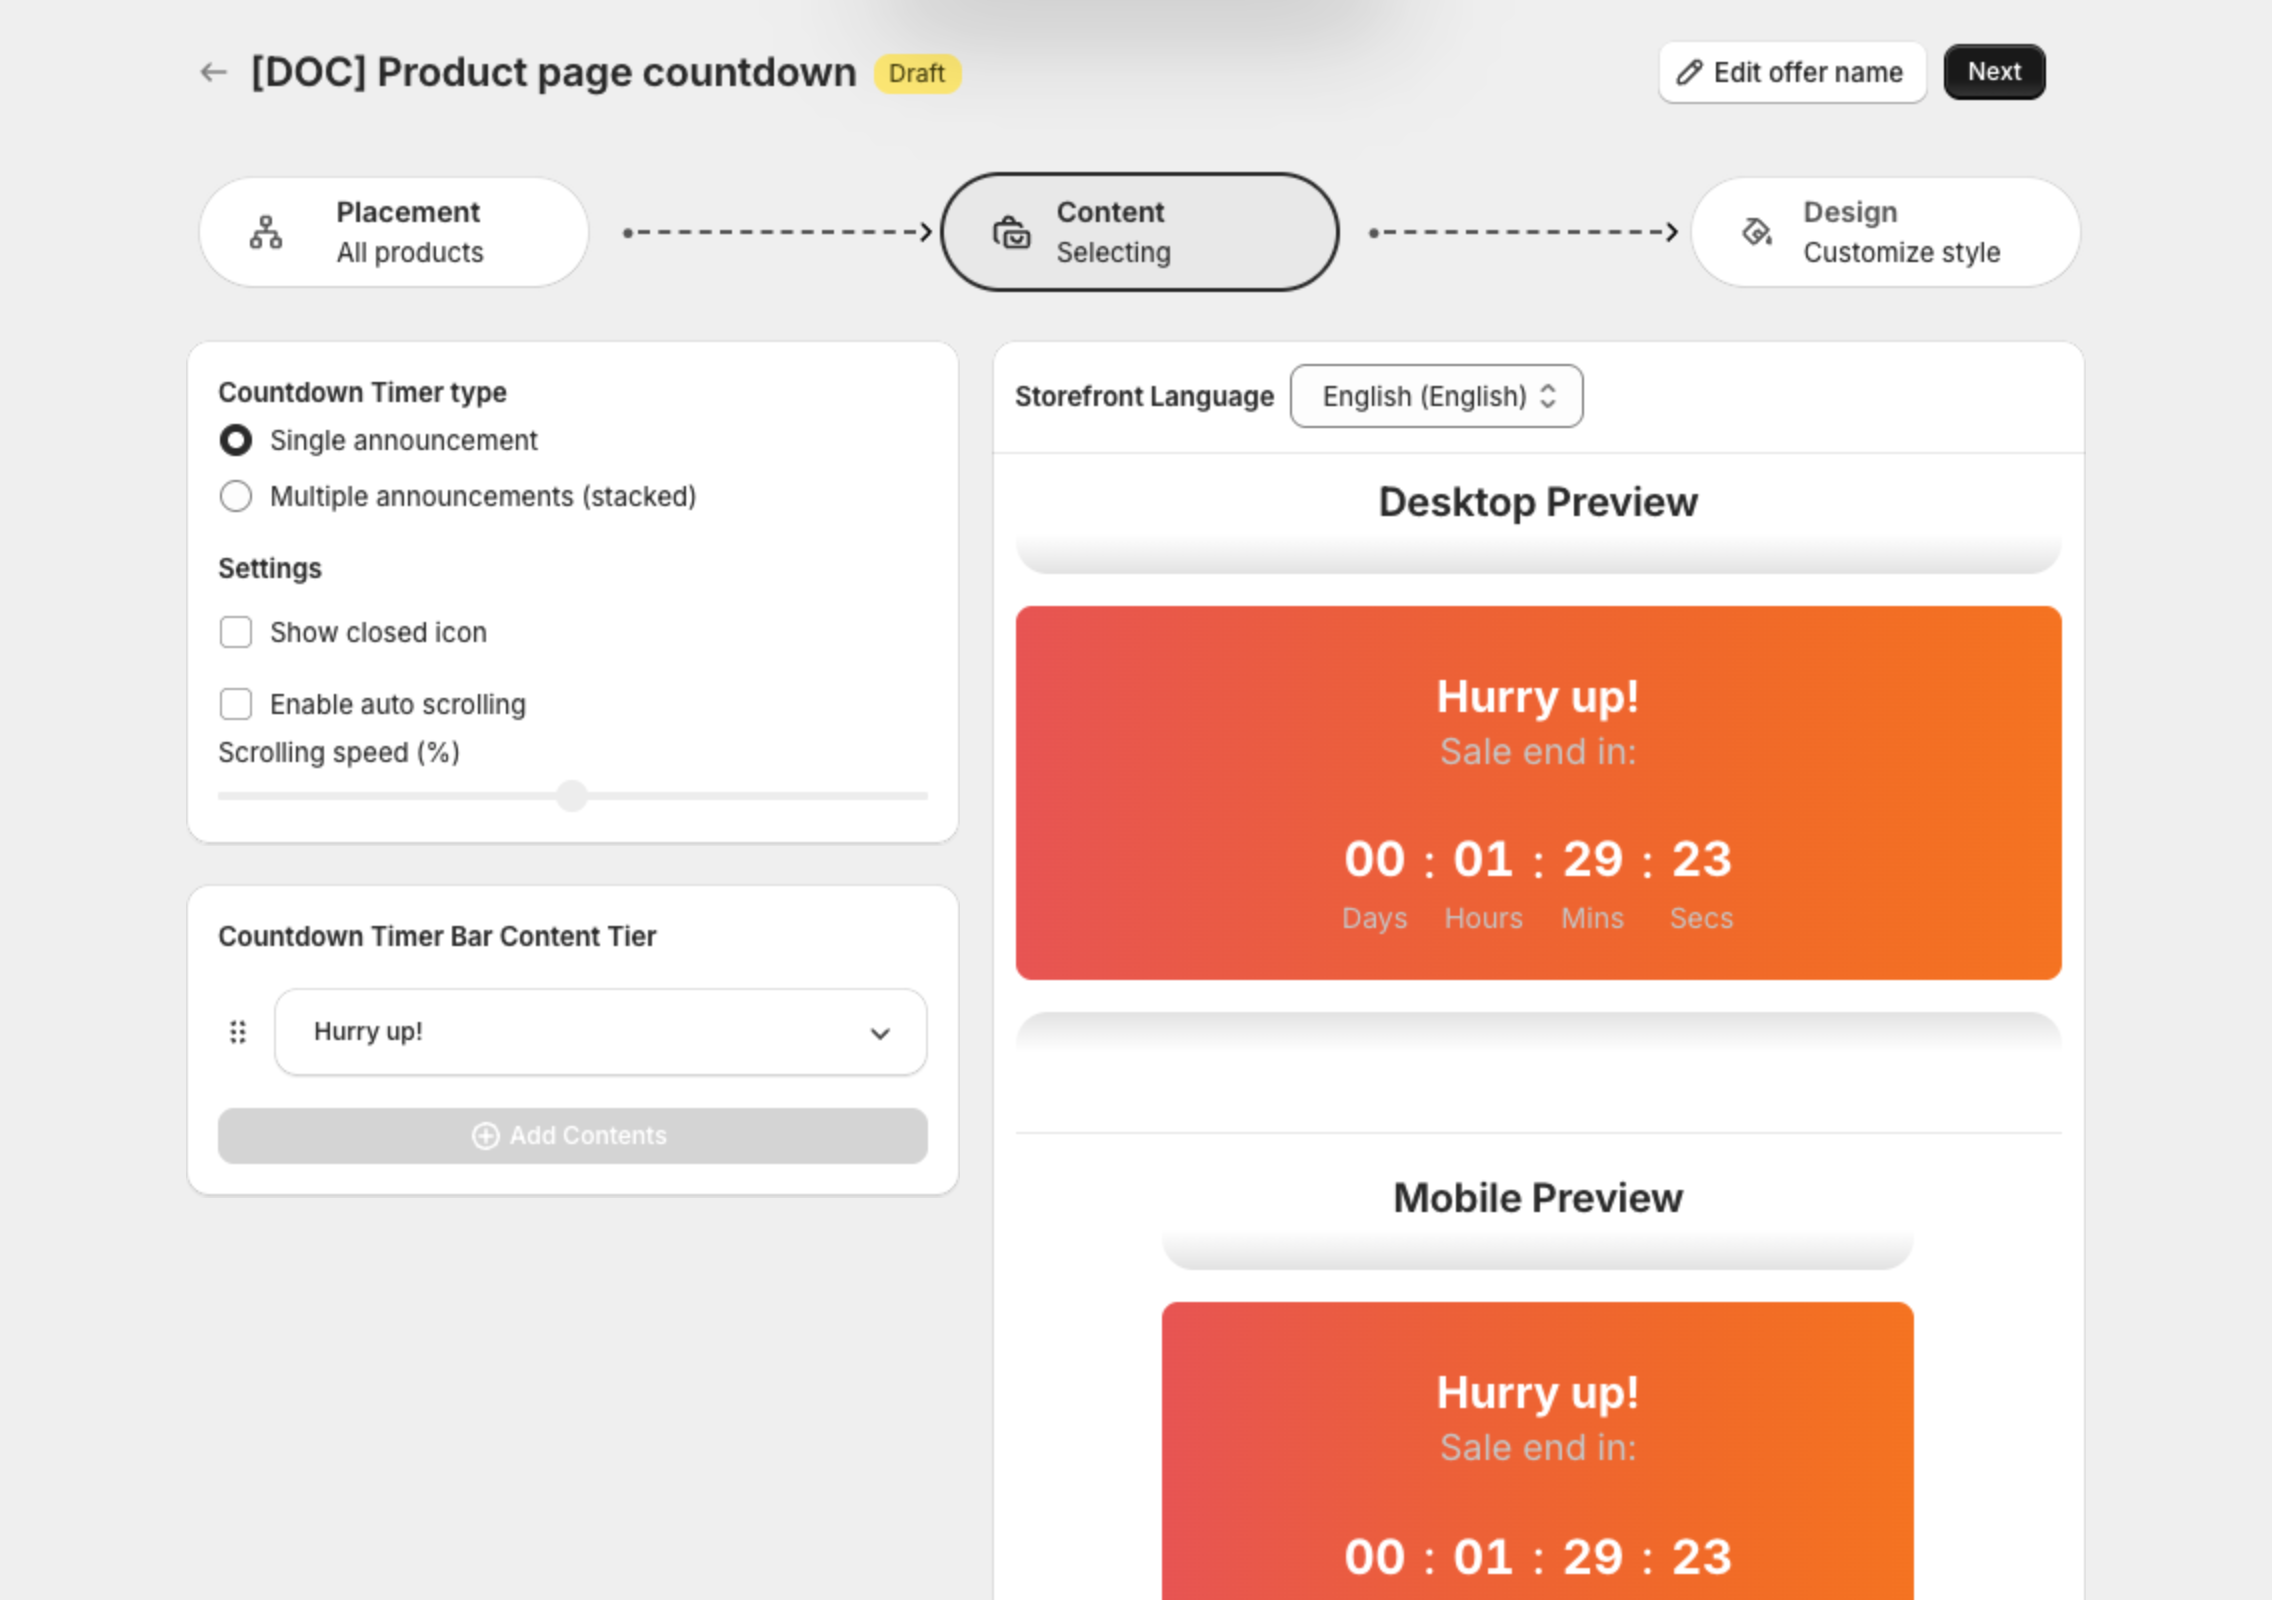
See How to set the timer and content.
5. Adjust the look (Design)
See How to customize the countdown timer design.
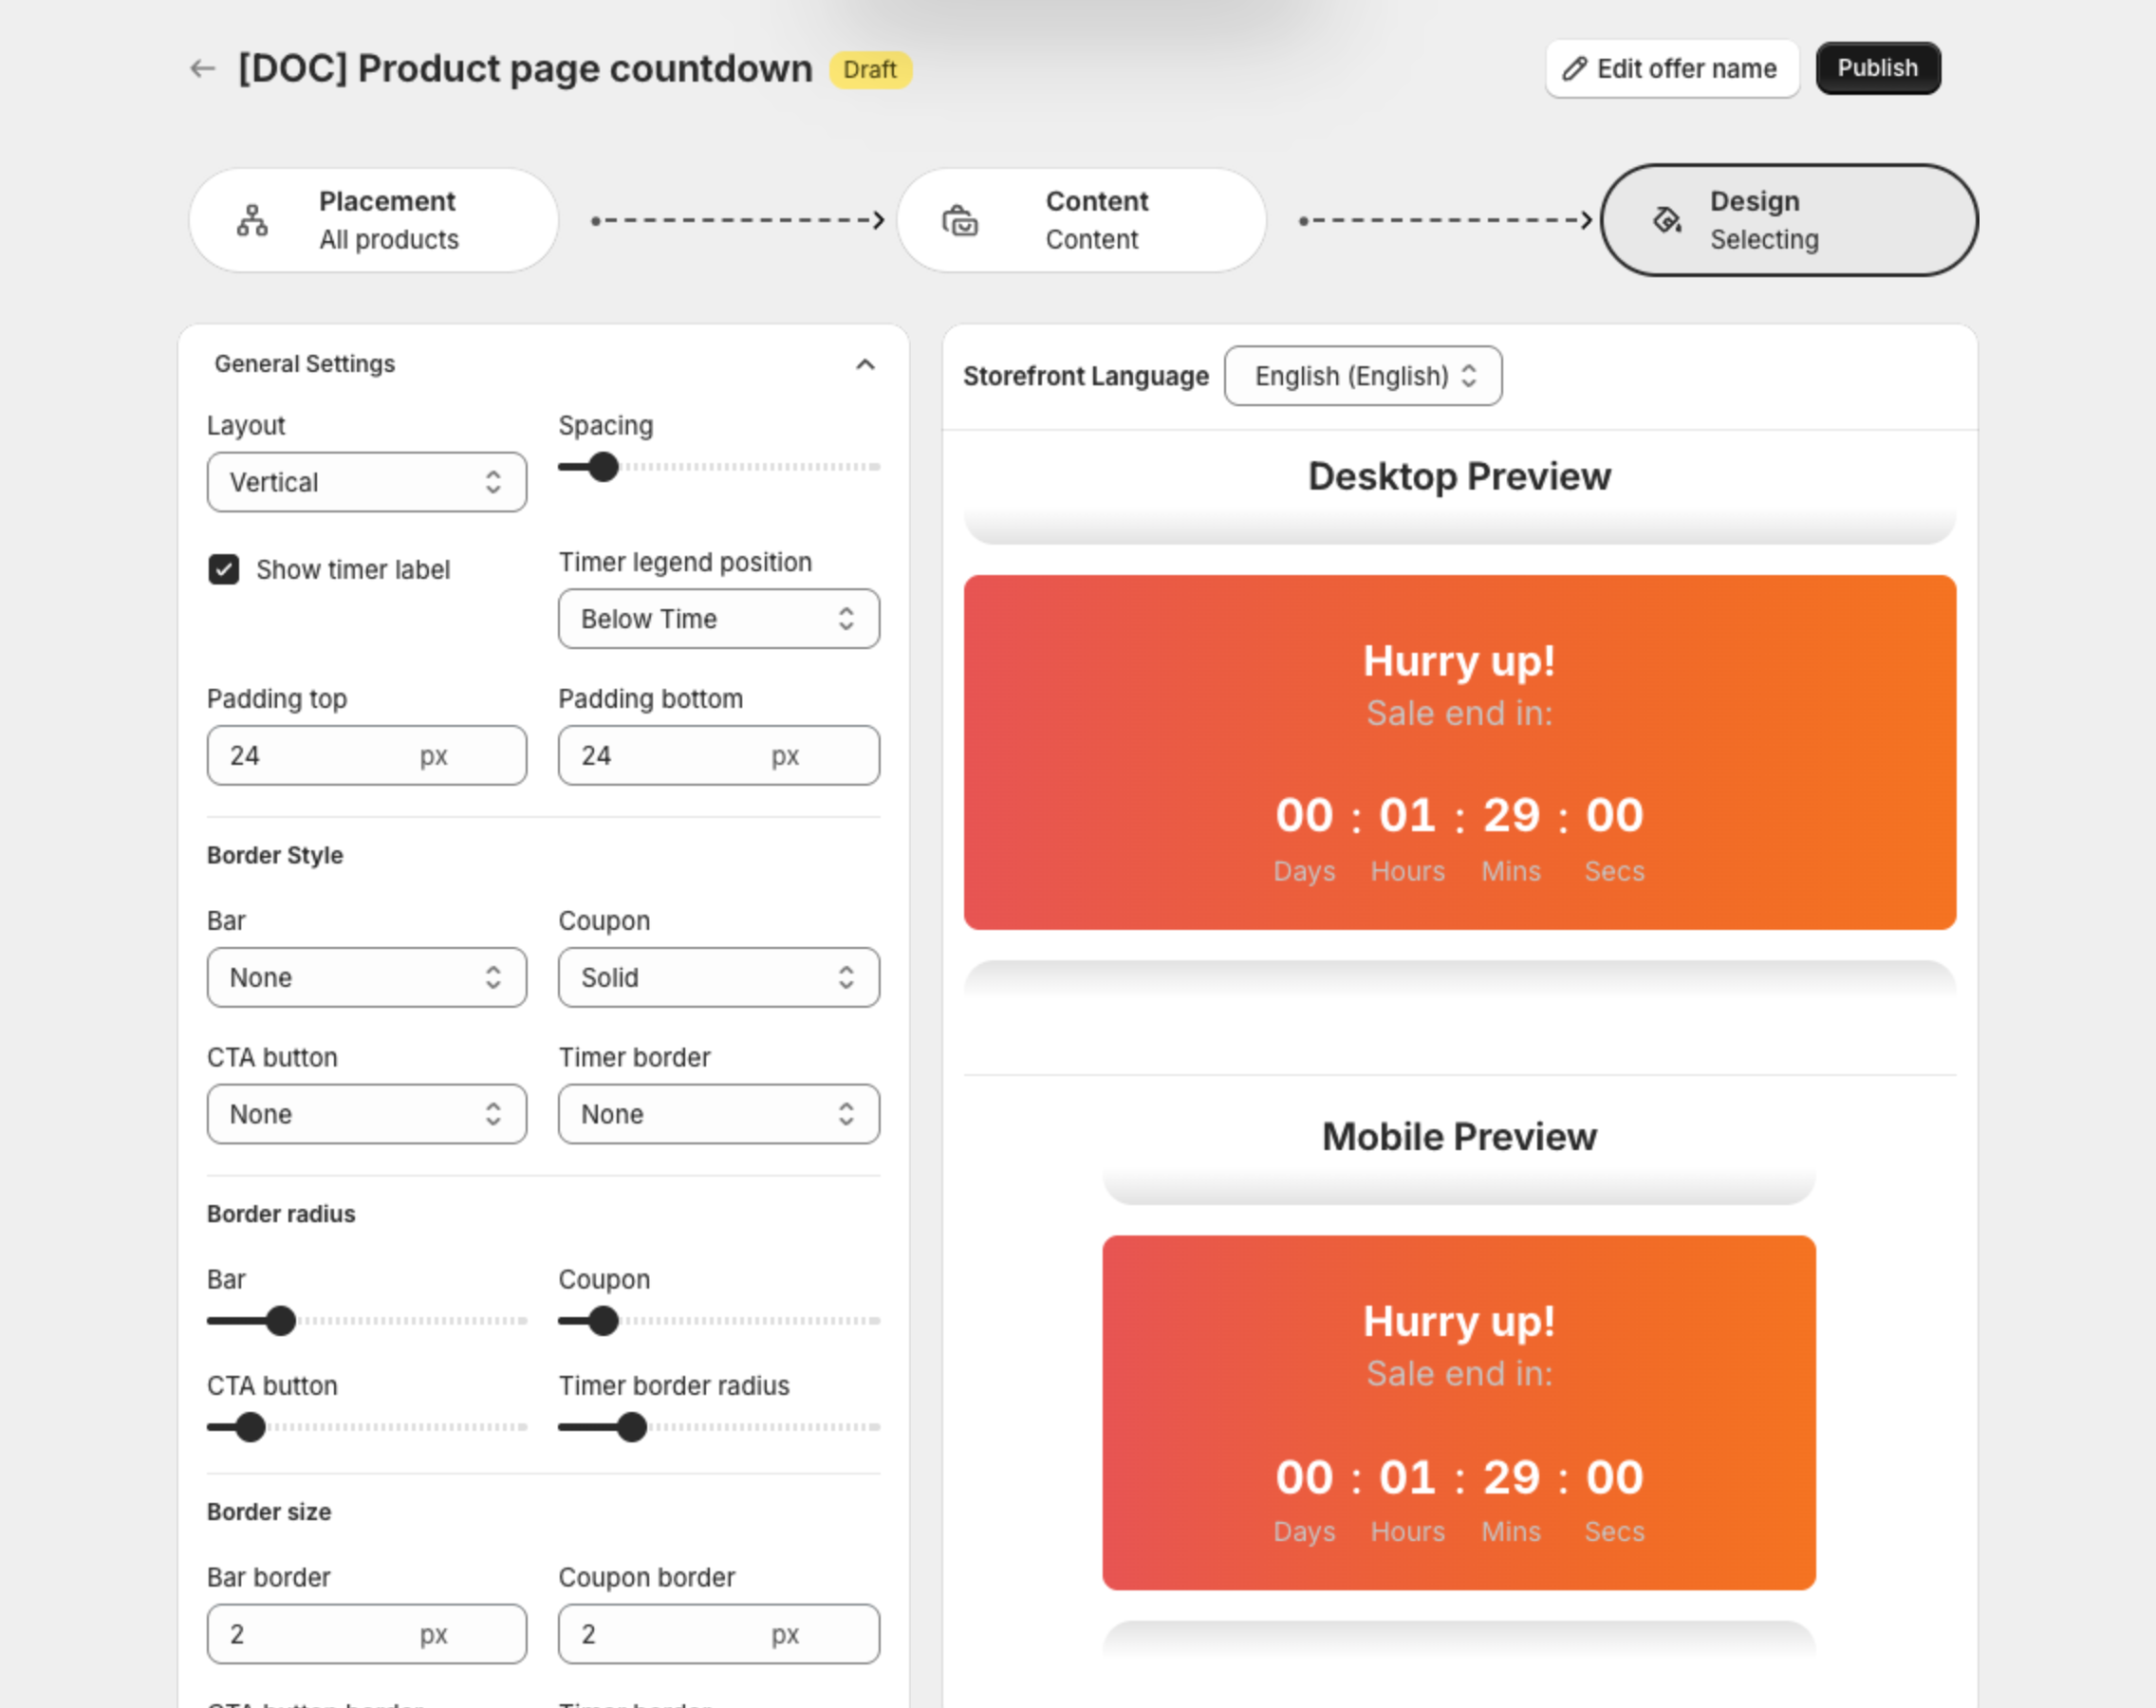
6. Publish and check your store
Click Publish. Open a product page: the timer shows below the buy buttons.