
How to set the timer and content
Overview
The Content step sets the timer and the text around it. Each message in the timer has its own Timer Setting.
Steps
1. Open the Content step
Open Countdown Timer bars, click the timer name, then click Content at the top of the editor.
2. Choose one or several messages
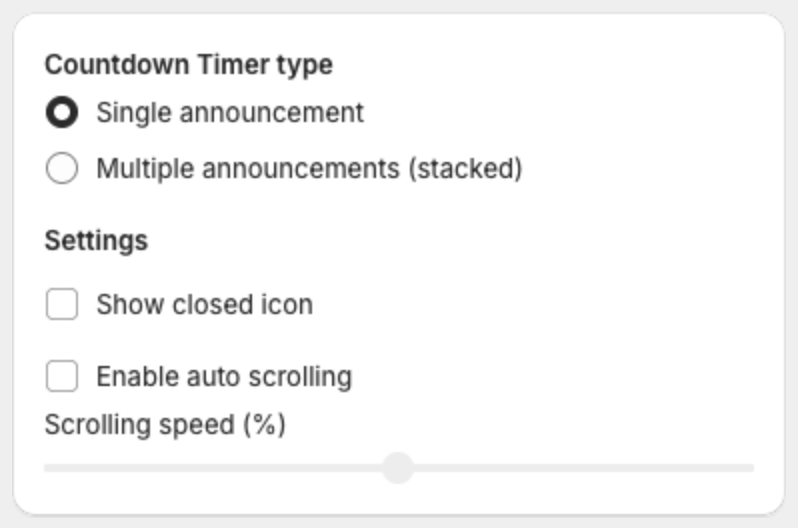
Under Countdown Timer type, select Single announcement or Multiple announcements (stacked). Under Settings, you can turn on Show closed icon (a close button), Enable auto scrolling and set the Scrolling speed (%) for several messages.
3. Choose the timer type
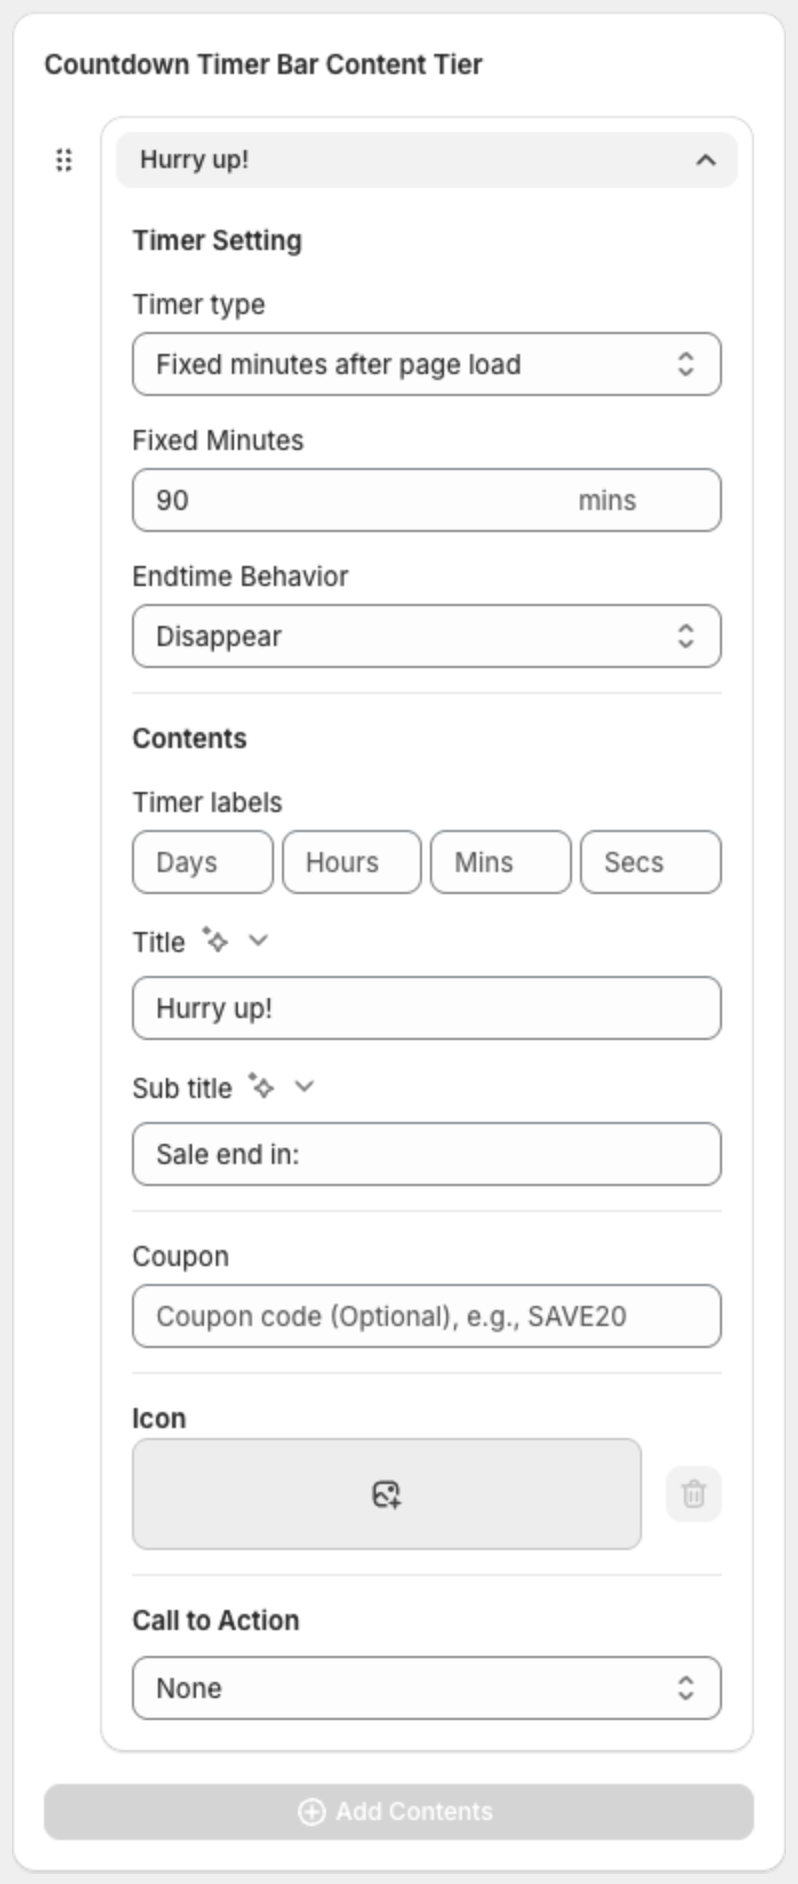
Open a message under Countdown Timer Bar Content Tier. Under Timer Setting > Timer type:
| Timer type | How it counts | Settings |
|---|---|---|
| Fixed minutes after page load | Starts from the same number of minutes every time a shopper opens the page. | Fixed Minutes |
| Count to date | Counts down to one date and time, for example the end of a sale. | Date, Time, Ignore customer timezone |
| Daily recurring | Shows every day between a start time and an end time, and counts down to the end time. Before the start time, the timer is hidden. | Start time, End time |
For Count to date, the time is one moment for everyone, converted to each shopper's time zone. Select Ignore customer timezone to end at the same clock time in every time zone instead. Daily recurring uses the clock of the shopper's device.
4. Choose what happens at zero
Under Endtime Behavior:
- Stop at zero — the timer stays at 00:00:00.
- Loop countdown — the timer starts again (for Fixed minutes after page load).
- Disappear — the timer hides.
- Show custom title — the title changes to the custom title you enter.
5. Write the content
- Timer labels — the words under the numbers, for example Days, Hours, Mins, Secs.
- Title, Sub title — the text around the timer.
- Coupon — an optional discount code shoppers can copy. Create the discount in Discounts in Shopify.
- Icon — an optional image.
- Call to Action — None, Button (with a label and link) or Whole bar clickable.
To add another message, click Add Contents.
6. Save
Click Save in the bar at the top of the page.