
How to choose where and when a bar shows
Overview
The Placement step of the editor controls where a bar shows: which pages, where on the page, in which countries, on which devices and during which dates.
Steps
1. Open the Placement step
Open Announcement bars, click the bar name, then click Placement at the top of the editor. For a new bar, the editor opens on this step.
2. Choose the pages
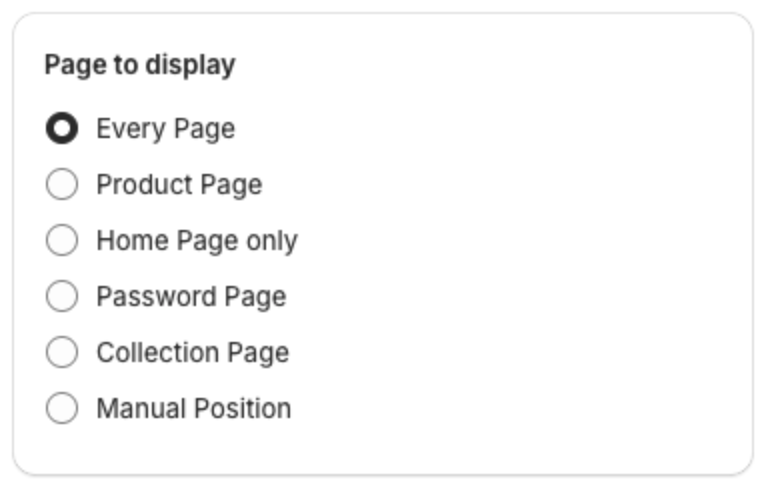
Under Page to display, select one option:
- Every Page — all pages of your store.
- Product Page — product pages. You then choose which products (step 4).
- Home Page only — the home page.
- Password Page — the password page shown while your store is password protected.
- Collection Page — collection pages. You then choose which collections (step 4).
- Manual Position — the place in your theme where you add the bar yourself. See How to show a bar in a custom position.
3. Choose the position on the page
Under Show announcement bar on:, select where the bar sits. The options depend on the page you chose:
| Page to display | Positions |
|---|---|
| Every Page | Top of page, Bottom of page, Above buy button, Below buy button |
| Product Page | Below buy button, Above buy button, Top of page, Bottom of page |
| Home Page only | Top of page, Bottom of page |
| Collection Page | Above product grid, Above collection banner |
| Password Page | Above signup banner |
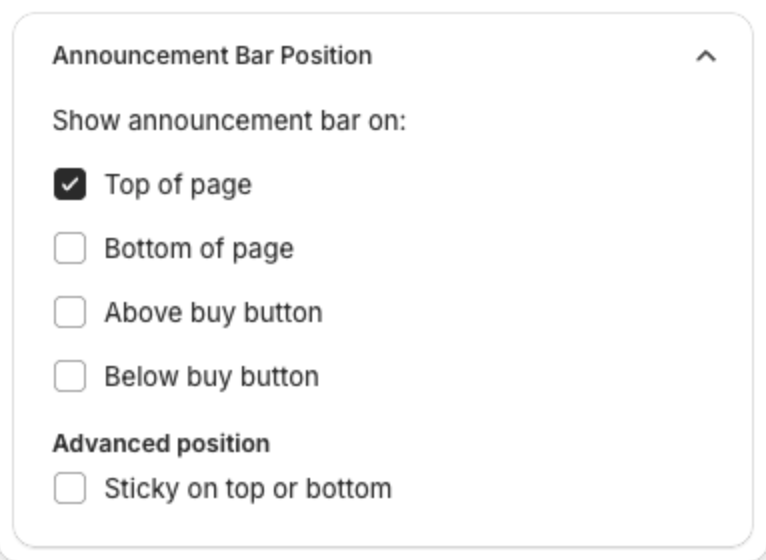
Under Advanced position, select Sticky on top or bottom to keep a top or bottom bar on screen while shoppers scroll. Without it, a Bottom of page bar sits at the very end of the page, below the footer.

4. Choose products or collections
This step applies only to Product Page and Collection Page.
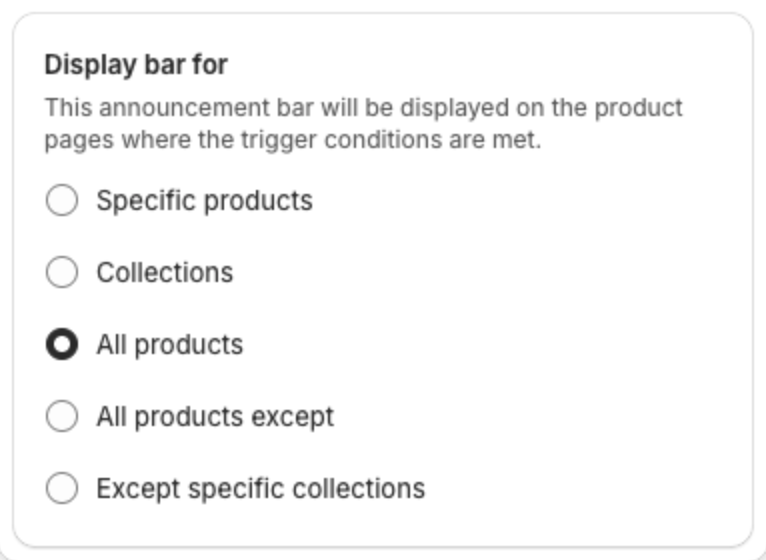
For Product Page, the Display bar for card shows these options:
- Specific products — click Select products and pick the products.
- Collections — products in the collections you pick.
- All products
- All products except — all products except the ones you pick.
- Except specific collections — all products except those in the collections you pick.
For Collection Page, the options are Collections, All collections and Except specific collections.
If you choose Specific products, select at least one product. Otherwise the bar cannot be saved.
5. Choose countries
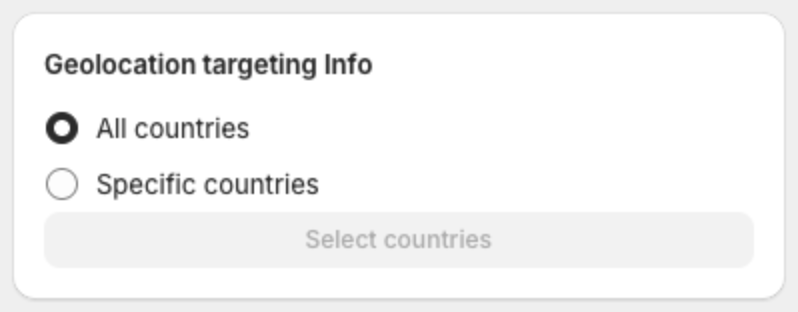
Under Geolocation targeting Info:
- All countries — the bar shows to every shopper. This is the default.
- Specific countries — click Select countries, select the countries, then click Select. The bar shows only when the shopper browses your store in one of those countries.
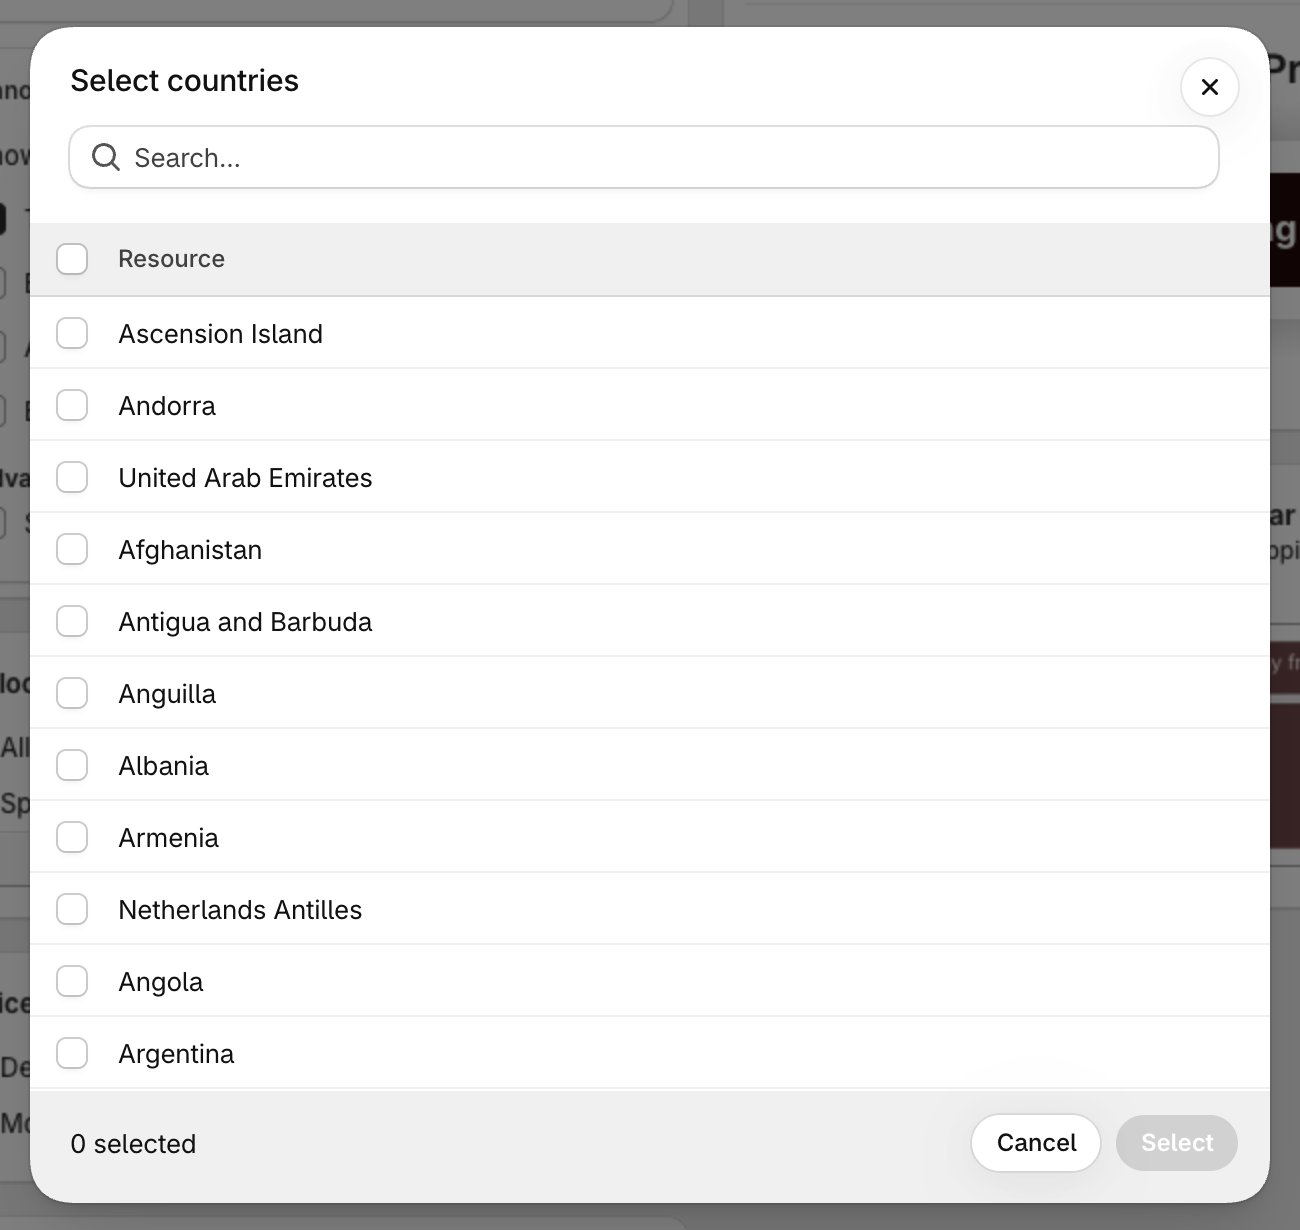
The country is the one your store uses for the shopper through Shopify Markets, the same country shown in your store's country or currency selector. It is not detected from the shopper's IP address. For example, a shopper in Canada who switches the selector to United States sees the bars that target the United States.
To see which countries your store sells to, go to Settings > Markets in your Shopify admin.
6. Choose devices
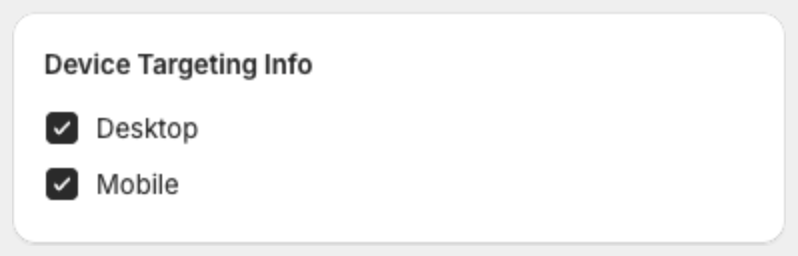
Under Device Targeting Info, select Desktop, Mobile or both. Both are selected by default.
7. Schedule the bar (optional)
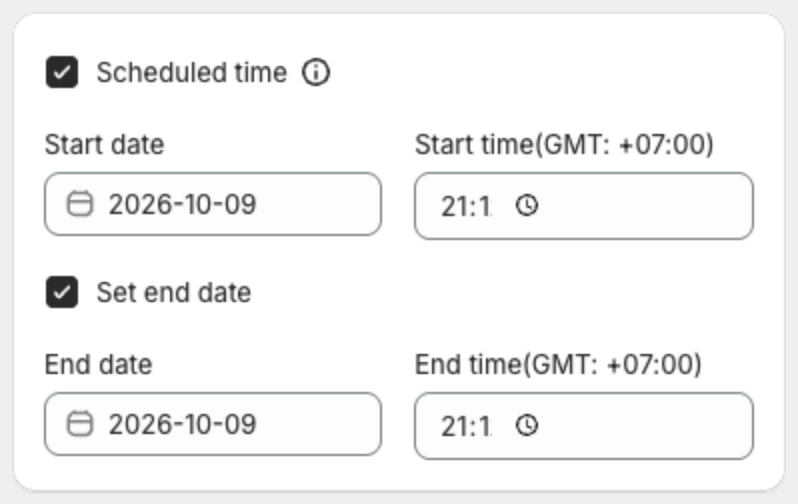
- Select Scheduled time.
- Set the Start date and Start time.
- To stop the bar automatically, select Set end date, then set the End date and End time.
The time zone is shown next to each time field, for example "GMT: +07:00". The start time must be before the end time.
Leave Scheduled time cleared to show the bar as soon as you publish it.
8. Save your changes
Click Next to continue to Content, or click Save in the bar at the top of the page.