
How to add messages, coupons and buttons
Overview
The Content step of the editor sets what the bar says. A bar can show one message or several messages that rotate or run across the screen. Each message can have a subtitle, a coupon code, an icon and a button or link.
Steps
1. Open the Content step
Open Announcement bars, click the bar name, then click Content at the top of the editor.
2. Choose one or several messages
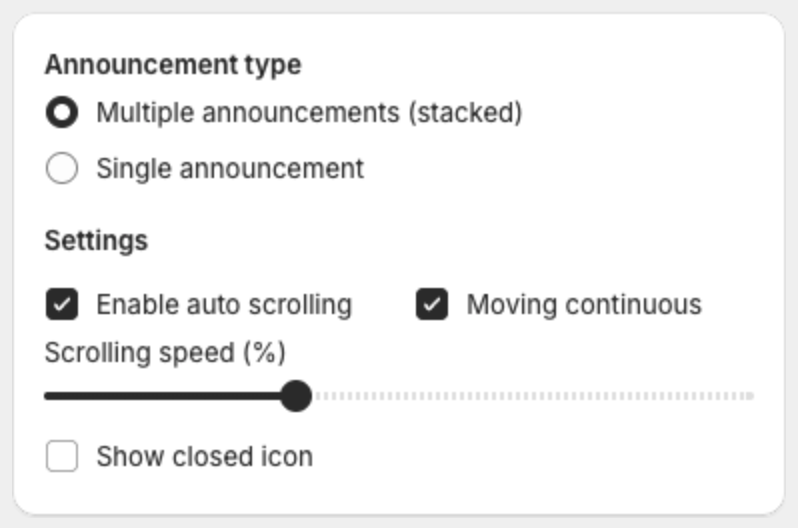
Under Announcement type, select:
- Multiple announcements (stacked) — the bar shows several messages, one after another.
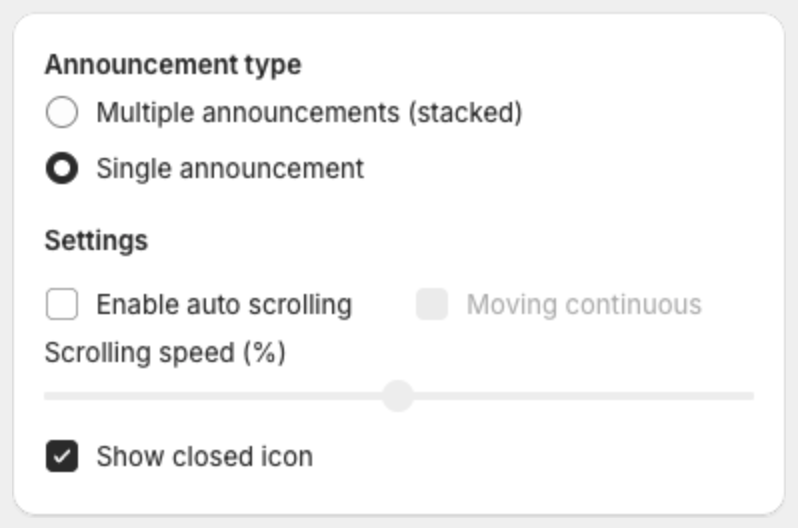
- Single announcement — the bar shows one message. Add Contents is not available.
3. Set how messages move
Under Settings:
| Setting | What it does |
|---|---|
| Enable auto scrolling | Moves to the next message automatically. Without it, shoppers switch messages with the arrows on the bar. |
| Moving continuous | Runs all messages across the bar in one line, like a news ticker. Needs Enable auto scrolling and Multiple announcements (stacked). The arrows are hidden. |
| Scrolling speed (%) | How fast messages change or move. A higher value is faster. Available with Enable auto scrolling. |
| Show closed icon | Adds a close (X) button so shoppers can hide the bar on the page they are viewing. |
To hide the arrows on a multi-message bar, set Arrow icon to 0 px in the Design step.
4. Edit a message
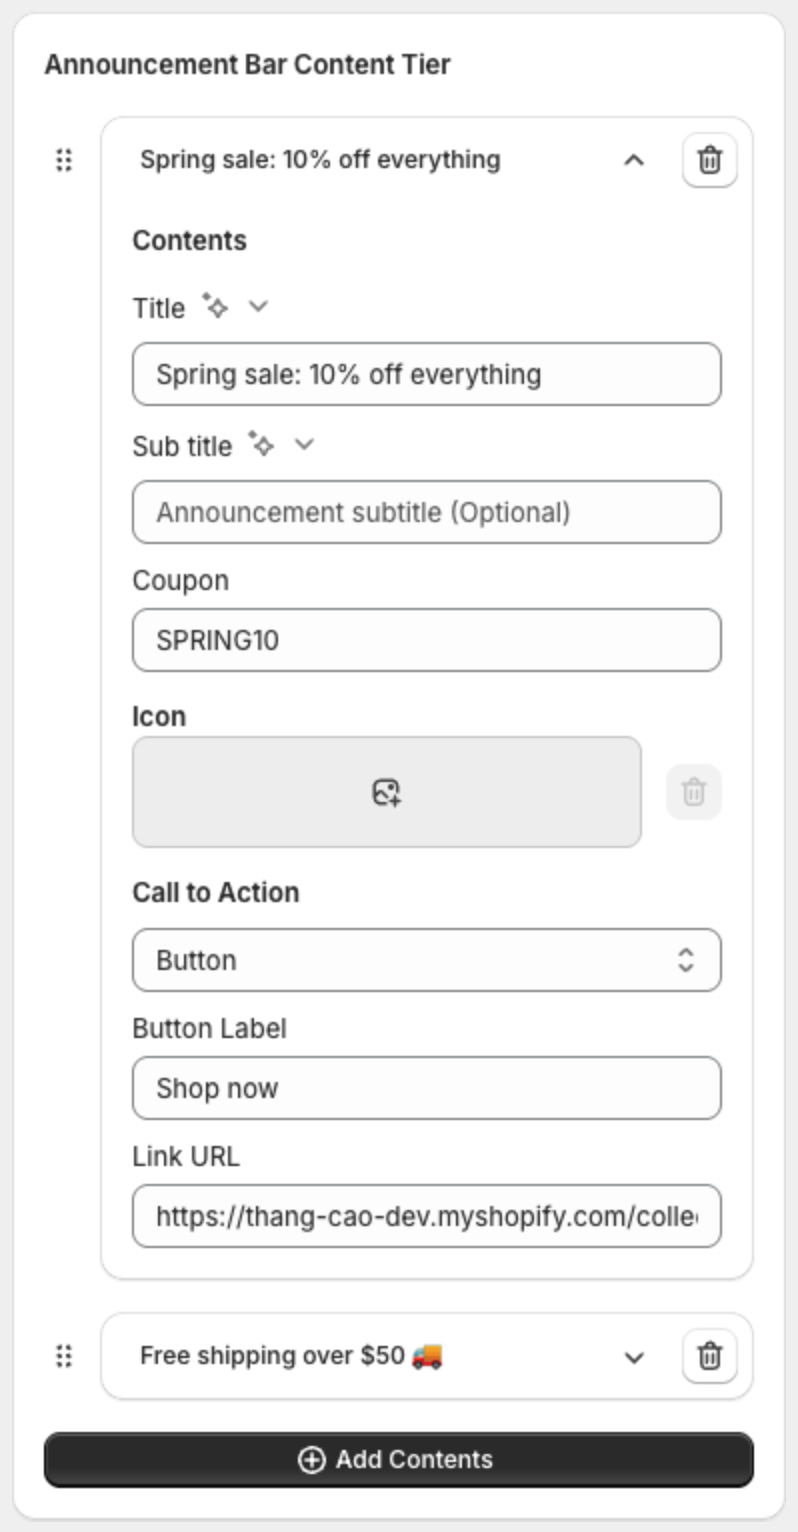
Under Announcement Bar Content Tier, click a message to open it, then fill in the fields:
| Field | What it does |
|---|---|
| Title | The main text of the message. Required: messages without a title do not show. |
| Sub title | Optional extra text shown with the title. |
| Coupon | Optional discount code, for example SAVE20. It shows with a copy icon. Create the discount itself in Discounts in your Shopify admin. |
| Icon | Optional image shown next to the text. Click the image box to choose one. |
| Call to Action | None, Button or Whole bar clickable. |
| Button Label | The button text. Shown when Call to Action is Button. |
| Link URL | Where the button or the bar takes shoppers, for example a collection page. Shown for Button and Whole bar clickable. |
The preview on the right updates as you type.
5. Add, reorder or remove messages
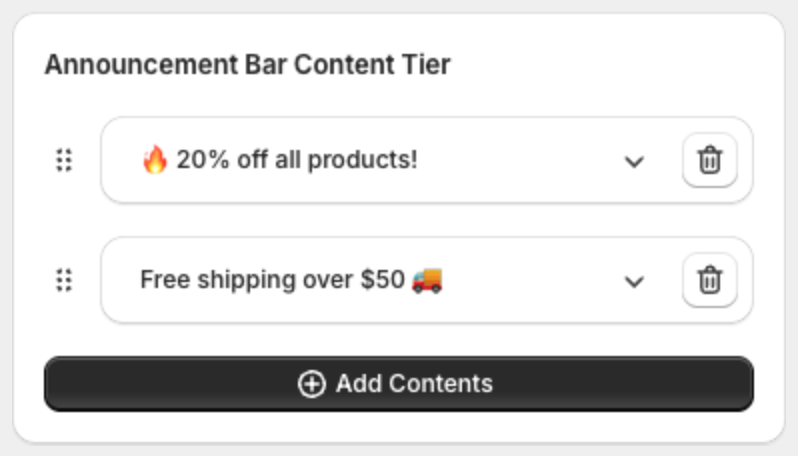
- To add a message, click Add Contents.
- To change the order, drag a message by the handle on its left.
- To remove a message, click the trash icon next to it.
6. Save your changes
Click Next to continue to Design, or click Save in the bar at the top of the page. On a published bar, the changes show on your store after you save.